
Hello lovelies,
There’s nothing I love more than having a lil wheel and browse around the M&S food hall. With it being so expensive, it’s always a treat to go grab some tasty food from there as the quality really is unmatched.
Whilst I love looking round all the isles, the part of M&S that has me in a chokehold is and will always be their sweet isles. From the bakery, to the fresh and frozen deserts to the sweet treats, i could easily go feral and buy the lot.
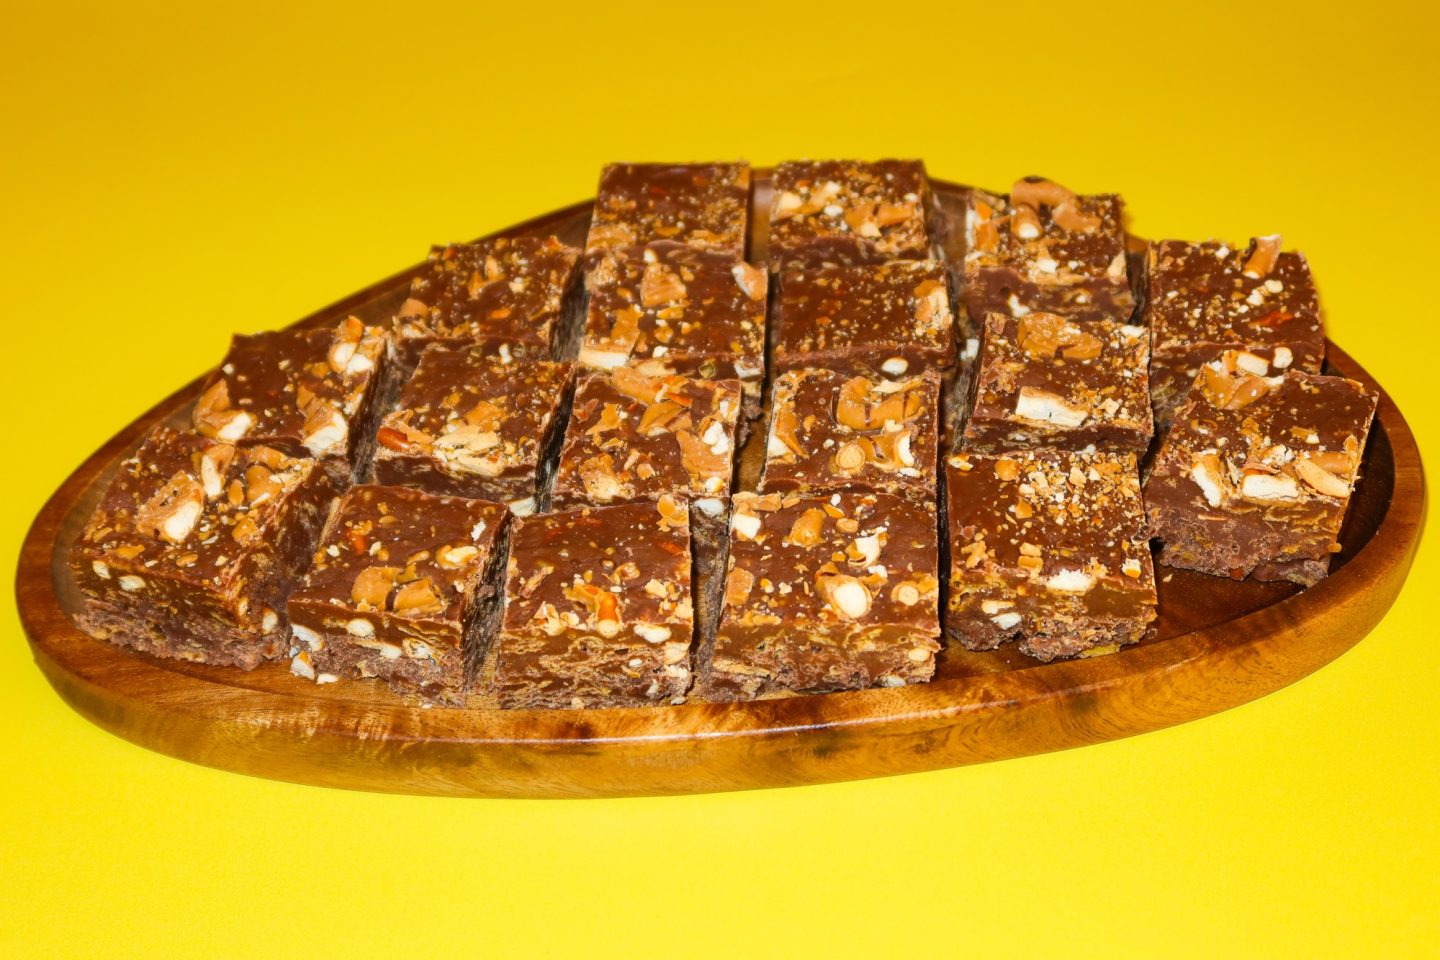
When having a wheel around recently, I saw that M&S have a range called ‘mini bites’ and one box that caught my attention immediately was their ‘Sweet & Salty Pretzel Fudge’.
I’ve recently found a new love for ‘sweet & salty’ sweet treats, I love the way the sweet and salty balance one another out whilst creating the most impeccable taste.
With that being said, rather than buying a box from M&S, I decided to challenge myself to make a batch of my own and to be quite frank, after making said batch, I knew I needed to share it with you guys asap!
It’s a 5 ingredient recipe I’m sharing with you today which is ridiculously easy to follow, takes very little time to make and set and tastes mouth-wateringly good.
I am obsessed with the outcome and I think you ‘sweet & salty’ lovers will be too.
So, if you like the sound of today’s fudge and you fancy creating a batch of your own, you know the drill. Keep on scrolling below and you’ll find today’s recipe.

Category: Sweet Treat
Servings: Up To 30 Pieces
Prep Time: 10 Minutes
Chill Time: 2-4 Hours
Overall: 4Hours 10Minutes
Ingredients You Need For The Fudge:
- 450g Of Milk Chocolate
- 397g (1 Tin) Of Condensed Milk
- 180g Of Flipz Salted Caramel Flavour Coated Pretzels, Chopped
- 100g Of Cornflakes
- A Pinch Of Sea Salt
How To Make The Fudge:
- Firstly, gather together your equipment and ingredients and line a 8” square baking tin with parchment paper.
- Secondly, in a large saucepan, add the 450g of milk chocolate and 397g of condensed milk. Continuously stir until the chocolate has fully melted and both ingredients have combined (at this point the mixture should be thick and glossy).
- Immediately remove from the heat and fold through the 160g of chopped pretzels, 100g of cornflakes and a pinch of sea salt.
- Pour straight into the lined baking tin. Using a spatula, evenly spread the fudge out into all four corners.
- Sprinkle the 20g of left over crushed pretzels over the top of the fudge and gently press them down into the top so that they stick.
- Place into the fridge to chill for a minimum of 2 hours.
- Finally, remove from the tin once set and cut into 20+ pieces and serve.
That’s your Sweet & Salty Pretzel Fudge prepared, chilled and cut, ready for you to enjoy!
Notes:
- Store the fudge in an airtight container in the refrigerator for up to 2 weeks.
- This fudge can be cut into smaller squares if these are too big for your liking, it can easily be cut up so that you get around 30 pieces.
- Work quickly when adding any fillings/decoration as the fudge begins to set pretty fast.
- I would recommend adding the cornflakes at the very last moment so that they keep their crunch.
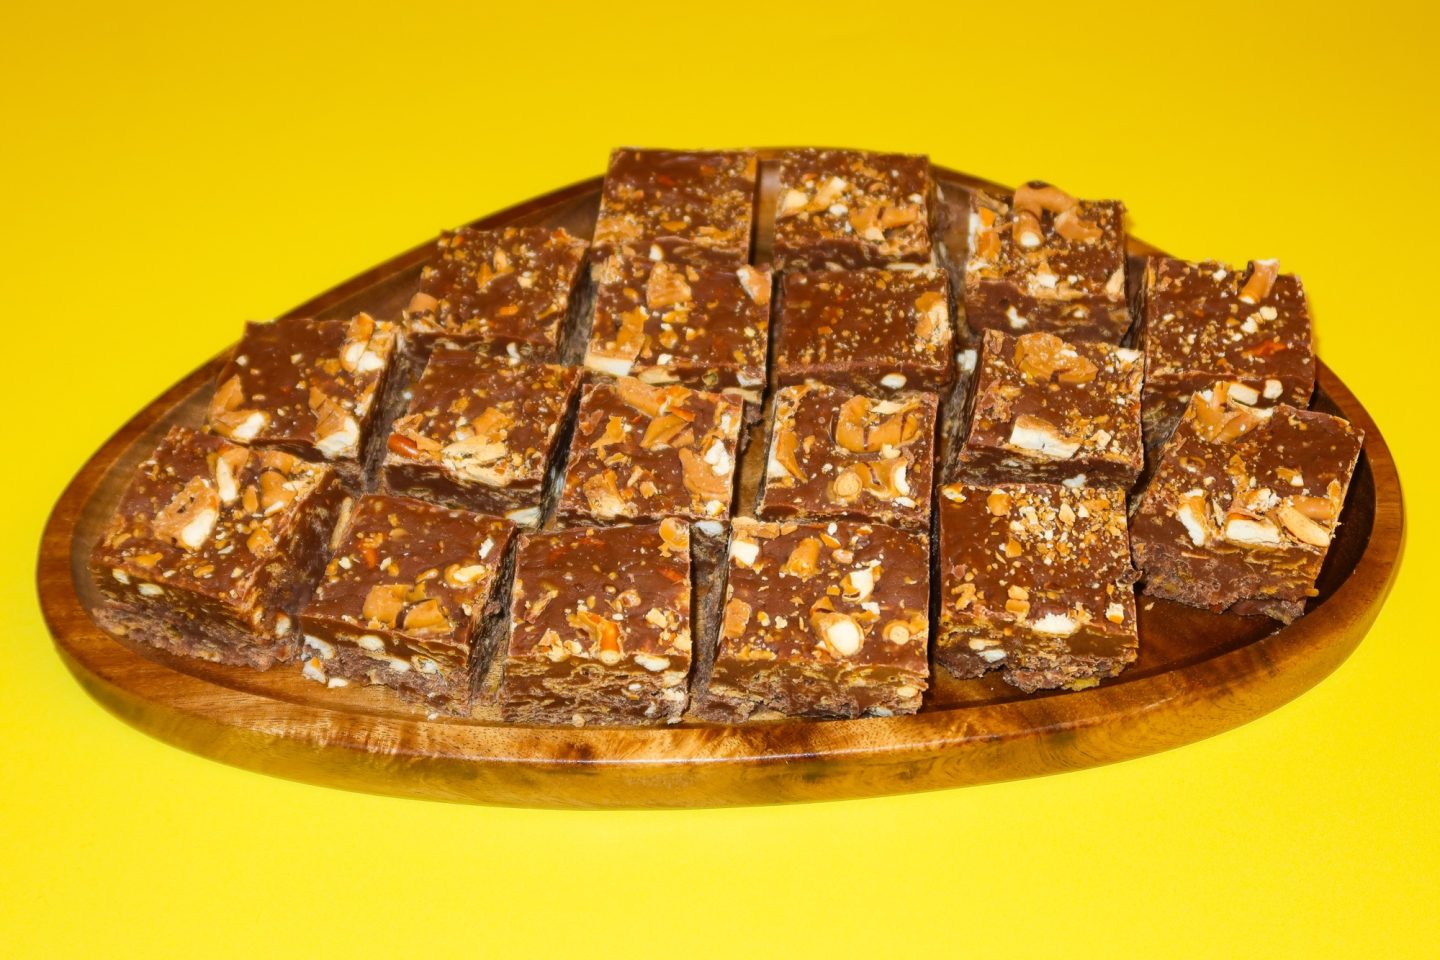
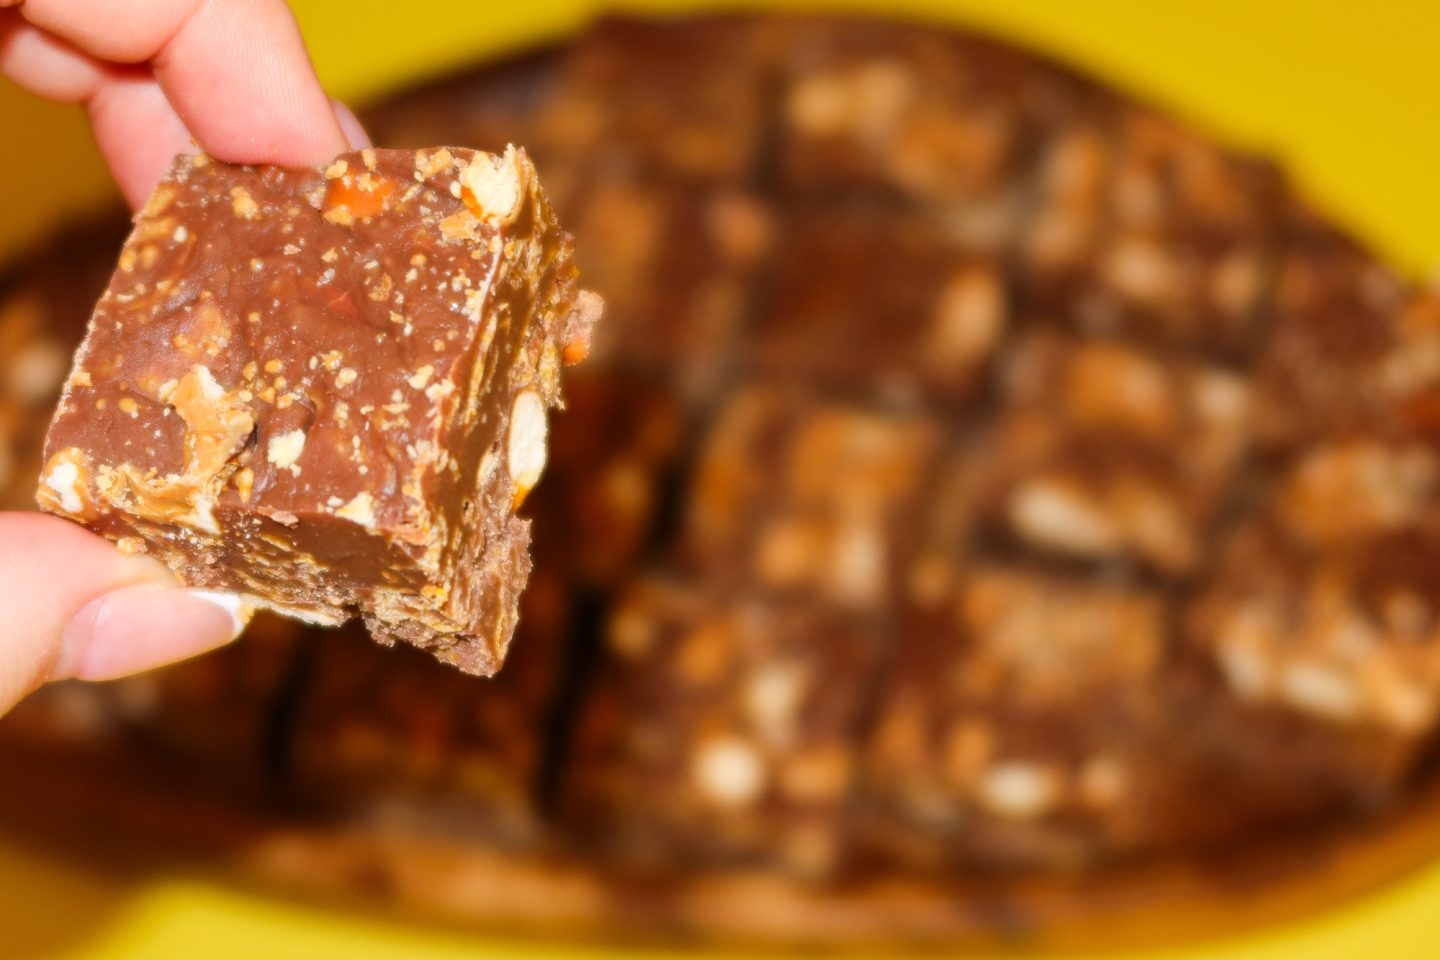
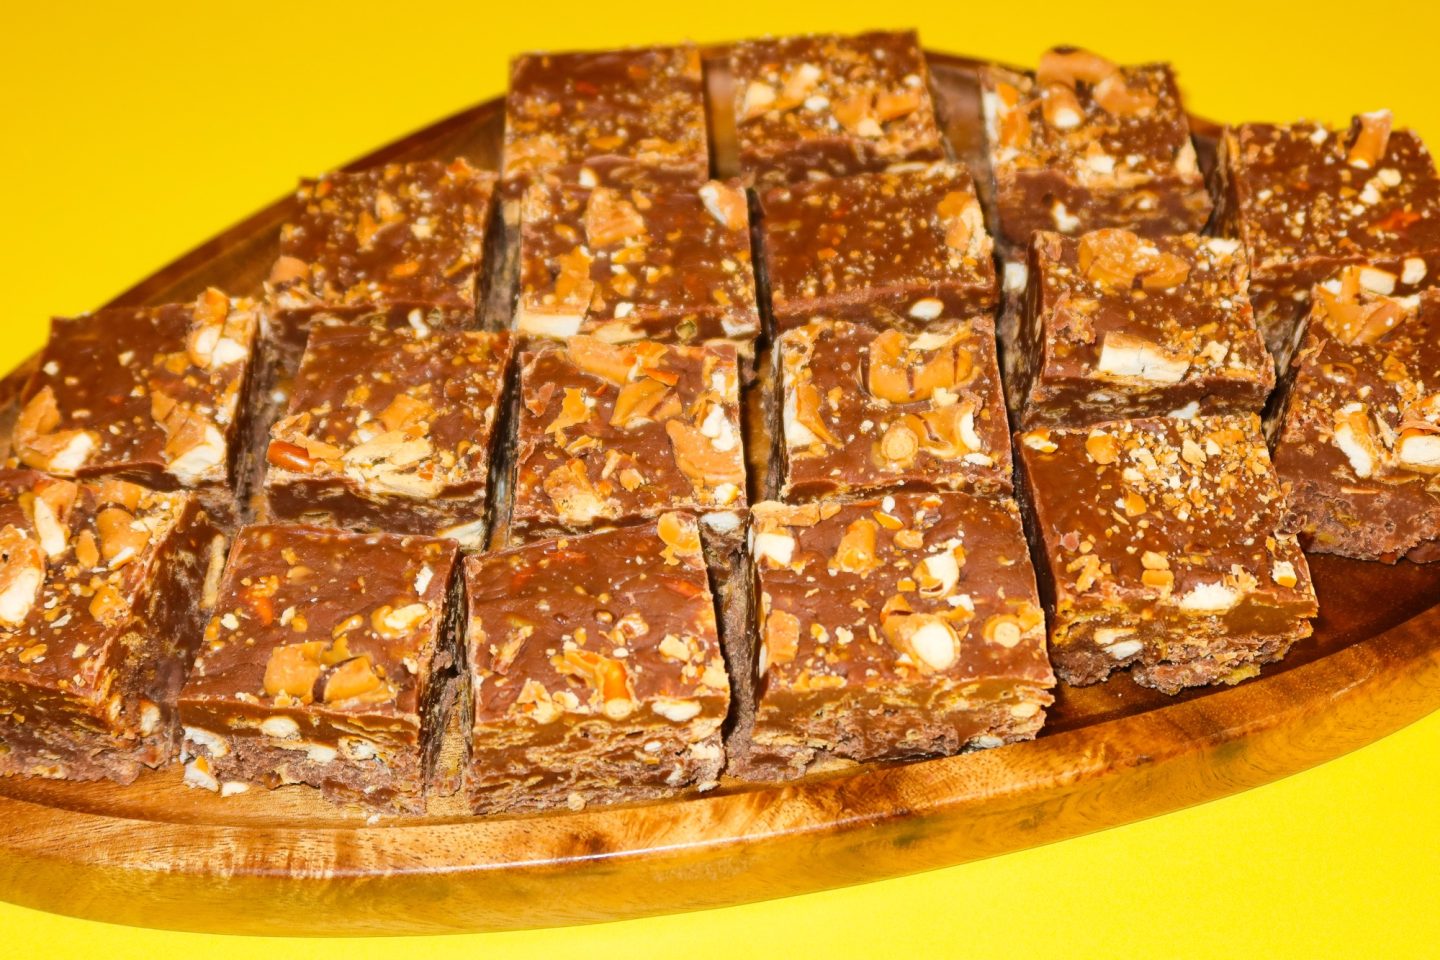
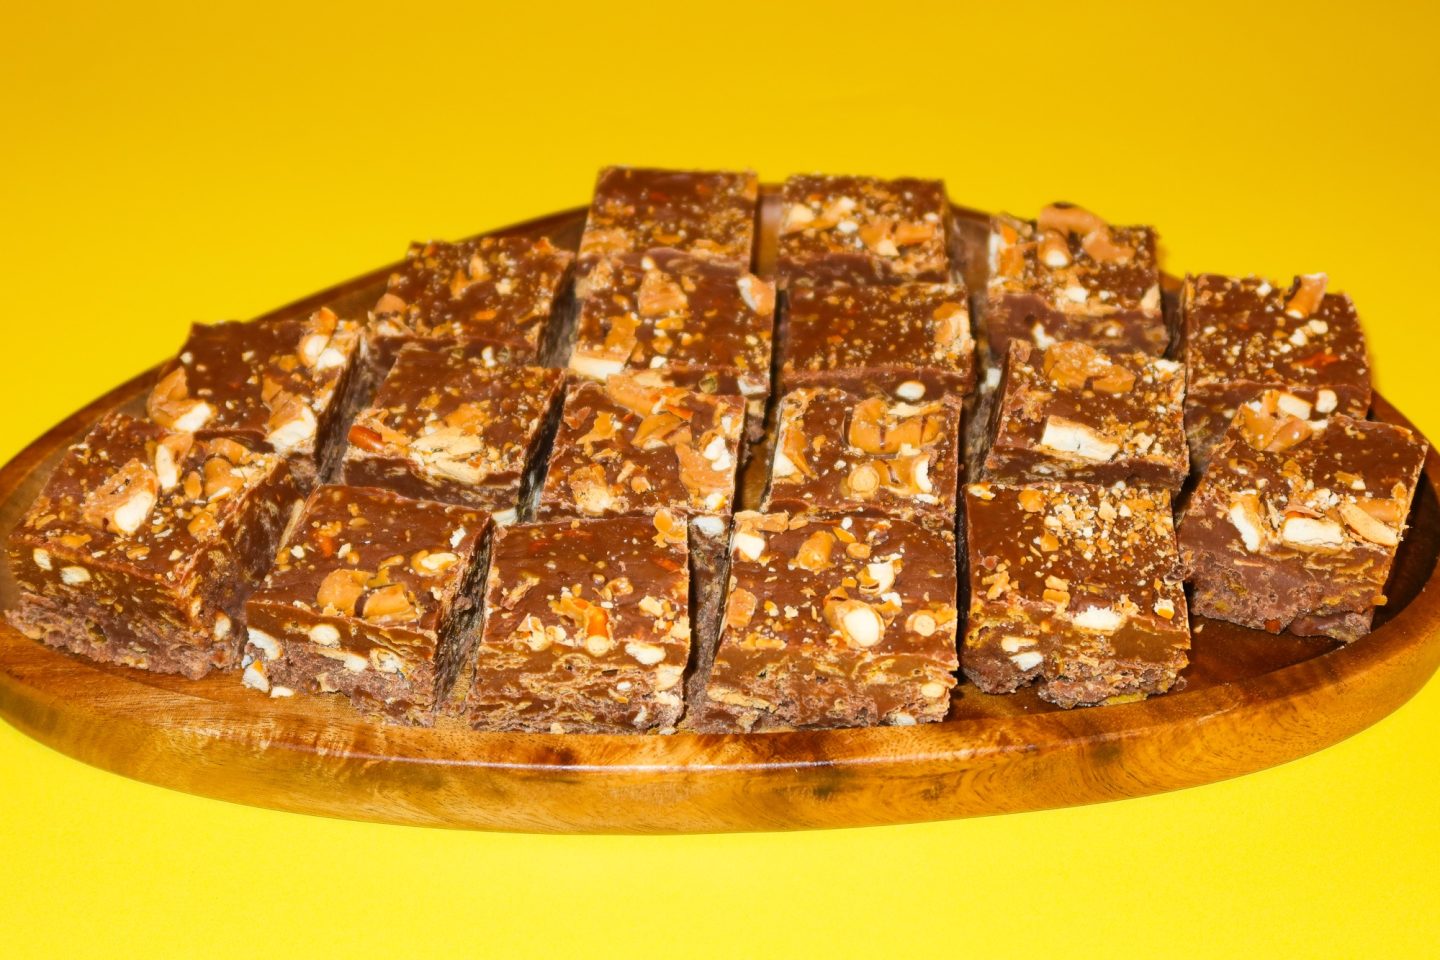
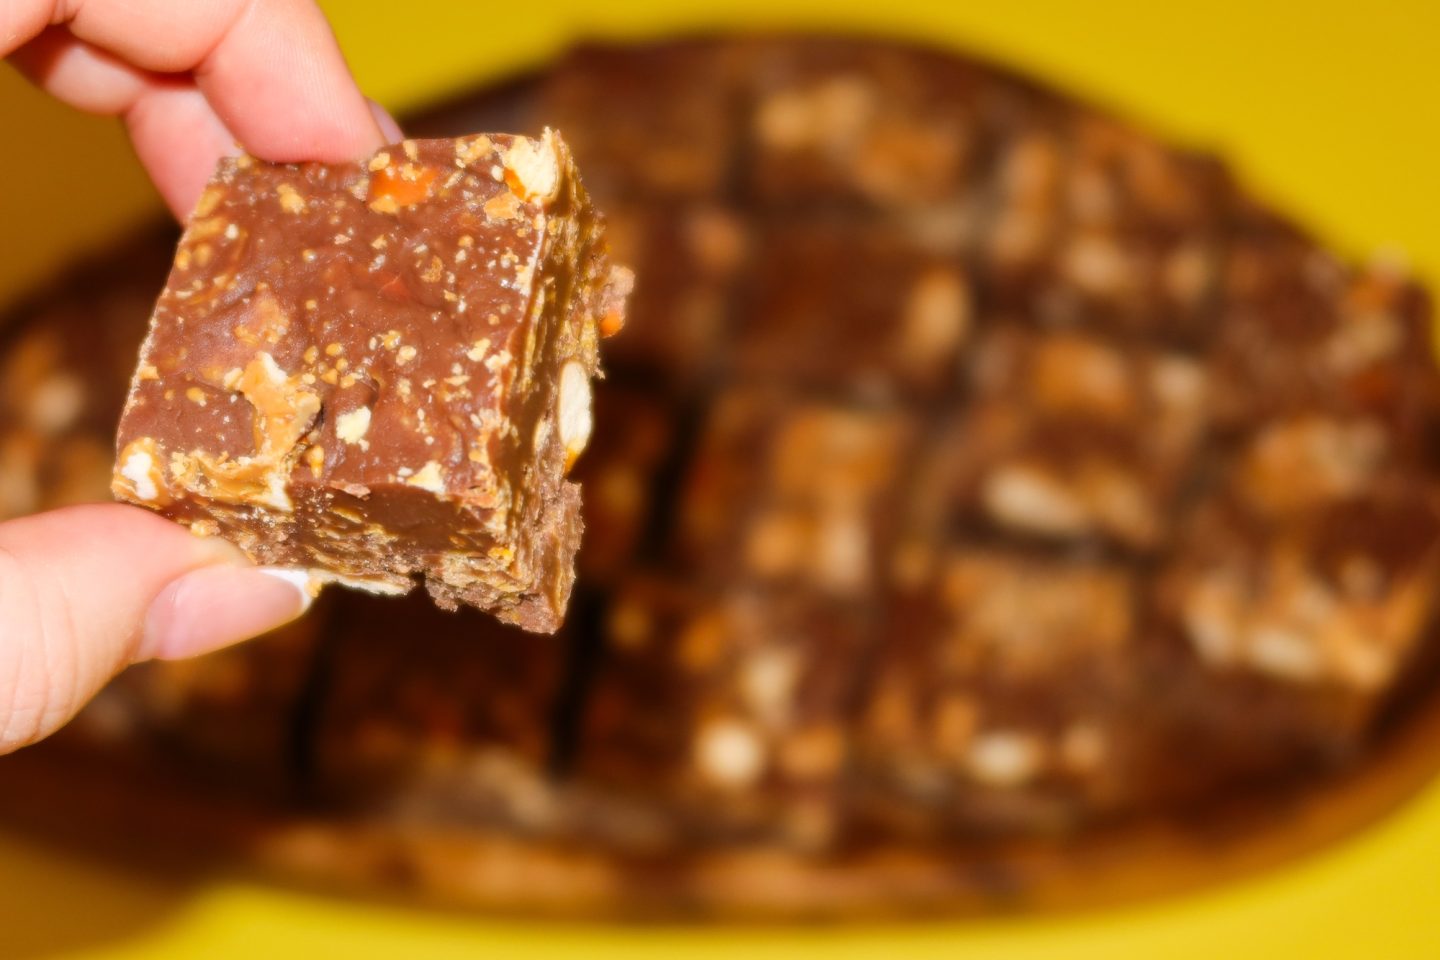


I love how simple this recipe is yet it’s got such a punch of flavour.
I can honestly say that I think this is my favourite batch of fudge I’ve made to date. The chocolate and condensed milk brings the sweetness, whilst the pretzels bring the saltiness and the cornflakes bring a crunchy texture element – all of which work beautifully with one another to make this fudge so unique and tasty!
M&S really did something when they brought out this fudge so huge shoutout to them for inspiring today’s recipe. I LOVE.
Let me know in the comments below if you made this fudge yourself and if you do, what your thoughts are on it. Are you a sweet & salty fudge fan? If you’ve tried the ones from M&S and recreated my version today, are they similar? Did you love my homemade version as much as the original?
Sending you all tons of love & hugs as always,
Elle xo
