
Hello lovelies,
I said back in a post earlier this year that I really wanted to start using peanut butter more in my bakes. It’s such a flavoursome ingredient that I just don’t play around with enough and I know is loved by so many of you guys reading, so I had to change that asap.
Whilst scrolling through Pinterest recently looking for some peanut butter inspiration, I came across a recipe for these ‘no bake peanut butter christmas trees’ which caught my eye immediately.
These christmas trees were unlike anything I’d made before and I just knew, you peanut lovers out there who read my blog would love these, so I decided to give them a whirl and damn… these are sensational.
Not only do they hero peanut butter but they’re festive too, so it was a win/win for me!
Therefore, I can’t take full credit for today’s recipe, it is inspired by an incredible baker called Jenna, also known as ‘Butternut Bakery’ online! Jenna created this heavenly bake and I’m just here to share my version with you guys today. Boy, are you in for a treat!
{ Jenna’s Original Recipe: https://butternutbakeryblog.com/peanut-butter-christmas-trees/ }
So, if you like peanut butter and you’re intrigued to know more, then you know the drill by now. Keep on scrolling below and you’ll find today’s recipe.

Category: Sweet Treat
Servings: 10 Tree’s
Prep Time: 15 Minutes
Chill Time: 1 Hour
Decorating Time: 15 Minutes
Overall Time: 1.5 Hours
Ingredients You Need For The Peanut Butter Trees:
- 100g Of Light Brown Sugar
- 170g Of Golden Syrup
- 190g Of Smooth Peanut Butter
- 60g Of Pretzels, Crushed
- 100g Of Oats
- 55g Of Rice Krispie Cereal
Ingredients You Need For The Chocolate Topping:
- 200g Of Dark Chocolate
- 30g Of Unsalted Butter
Ingredients You Need To Decorate:
- 50g Of White Chocolate
- Green Food Colouring
- Choco Ball Sprinkles
How To Make The Peanut Butter Trees:
- Firstly, gather together your equipment and ingredients and line a 8” square, loose-bottomed baking tin with parchment paper.
- Secondly, in a large bowl, combine the 60g of crushed pretzels, 100g of oats and 55g of rice krispies. Then, set to one side.
- Next, in a saucepan, over a medium heat, mix together the 170g of golden syrup and 100g of light brown sugar. Continue to mix together until the mixture begins to bubble. Allow it to bubble for up to 30 seconds before removing from the heat and mixing in the 190g of smooth peanut butter.
- Pour the mixture into the bowl with the pretzels and stir together until the dry ingredients are completely coated by the wet ingredients.
- Press the mixture down firmly into the base of the prepared baking tin, making sure it’s pressed into all the edges.
- Set to one side whilst you make the chocolate topping.
How To Make The Chocolate Topping:
- In a microwavable bowl, add the 200g of dark chocolate and 30g of unsalted butter, place into the microwave and in 20 second blasts, blast the chocolate butter mixture until it’s completely melted.
- Pour the chocolate butter mixture over the top of the peanut butter layer and spread it until the base is evenly coated with the chocolate (at this stage, give the baking tin a little wiggle and tap to even out the topping).
- Now, place the mixture into the refrigerator for 1 hour to chill. If you’d prefer to speed things up, you can place into the freezer and freeze for 20-30 minutes.
How To Decorate:
- Once set, remove the bars from the fridge (or freezer) and using a sharp knife, cut the bar, length ways, straight down the middle.
- Then, cut each half into 5 triangles.
- Now, in a microwavable bowl, add the 50g of white chocolate, place into the microwave and in 10 second blasts, blast the white chocolate until completely melted.
- Once melted, remove from the microwave and add 2-3 drops of green food colouring into the white chocolate and mix until together until fully combined.
- Transfer the green coloured white chocolate into a piping bag, snip off the very tip and pipe zigzag lines onto each of the triangles.
- Sprinkle some choco ball sprinkles across the zigzag lines to resemble baubles.
- Finally, place back in the fridge for 5 minutes to set. Then, serve.
That’s your No Bake Peanut Butter Christmas Trees prepared, chilled and decorated, ready for you to enjoy this Christmas.
Notes:
- Lay the christmas trees flat, into an airtight container and store at room temperature for 2-3 days or in the refrigerator for 4-5 days.
- I used dark chocolate and butter for the chocolate layer as the butter makes the chocolate slightly ‘softer’ therefore, making it easier to get a clean cut without the chocolate cracking.
- You can make these bars gluten free by using GF oats, pretzels and rice krispie cereal.
- I used the colour ‘Green’ from Colourmil food colourings: https://www.cakecraftcompany.com/food-colourings
- I brought my festive choco ball sprinkles from: https://www.bakeboxboutique.co.uk/collections/christmas-sprinkles
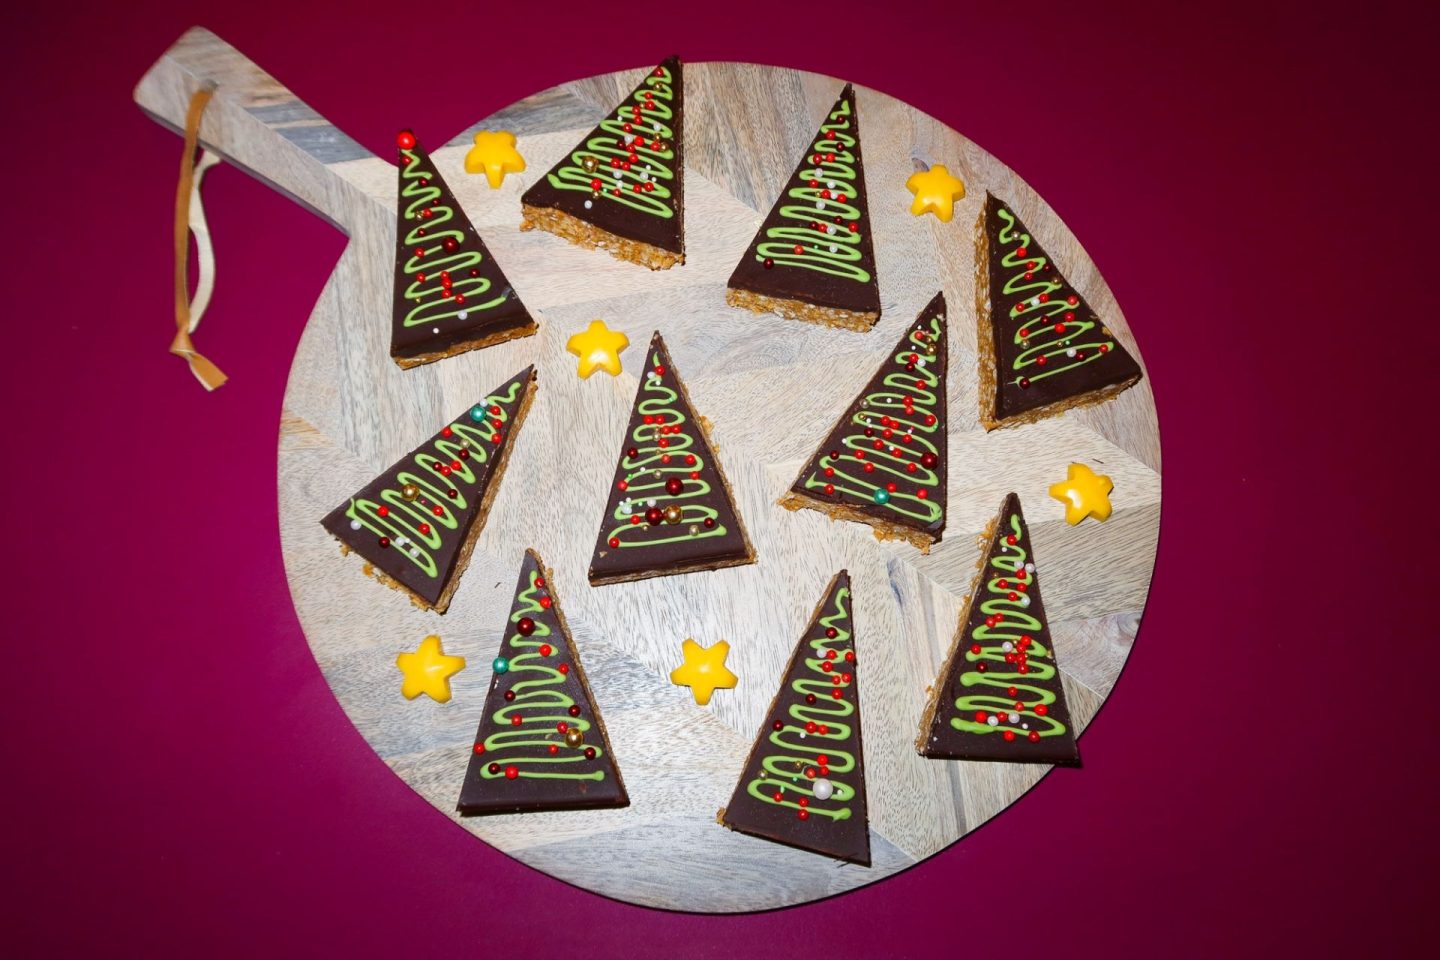
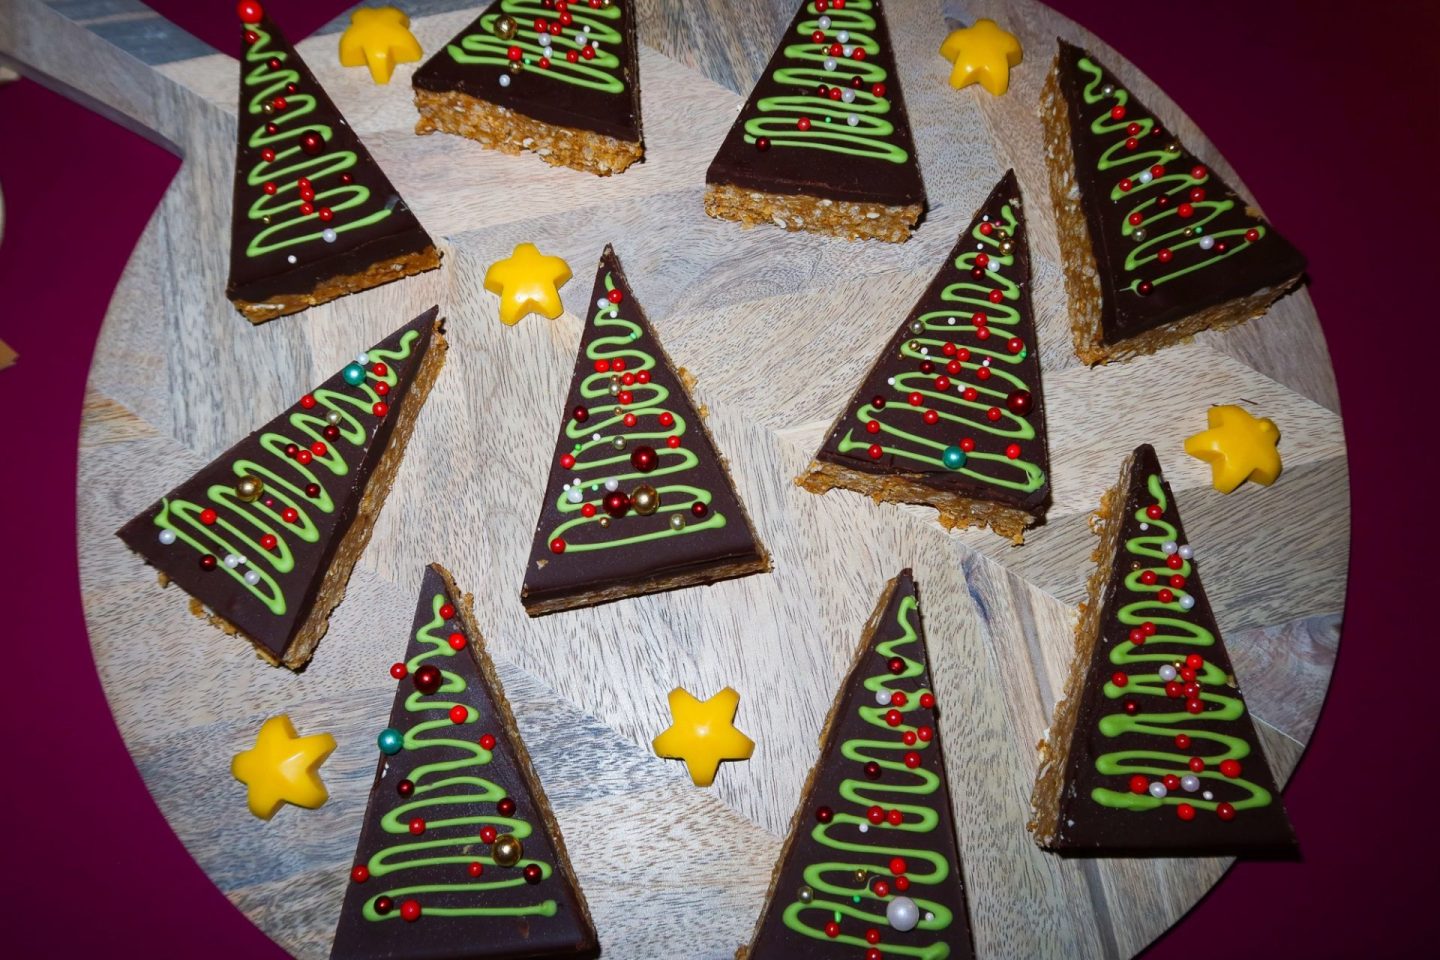
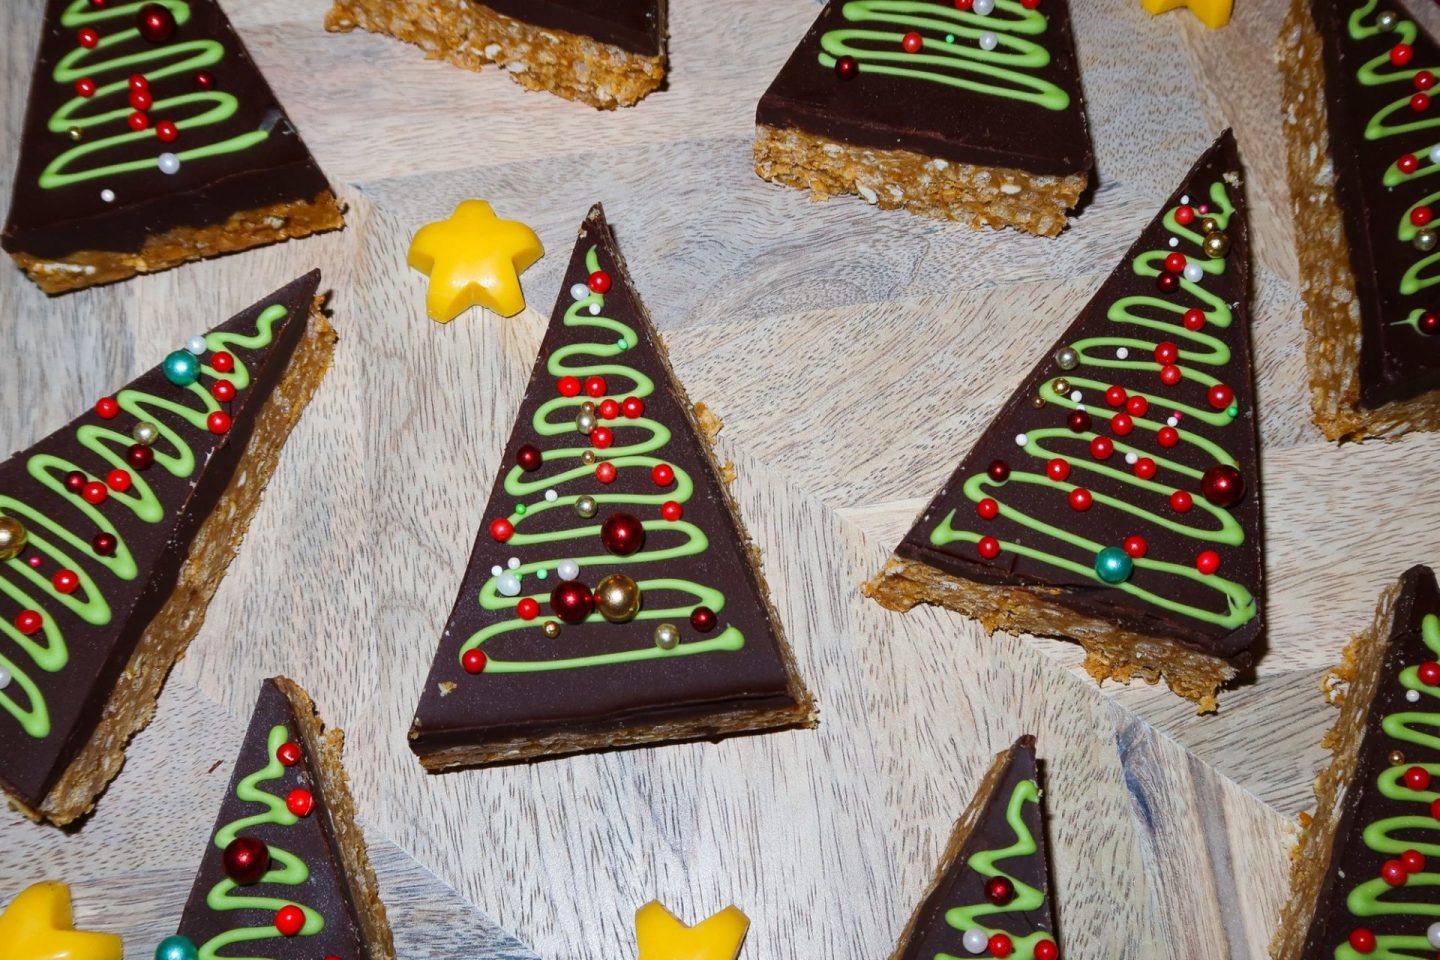
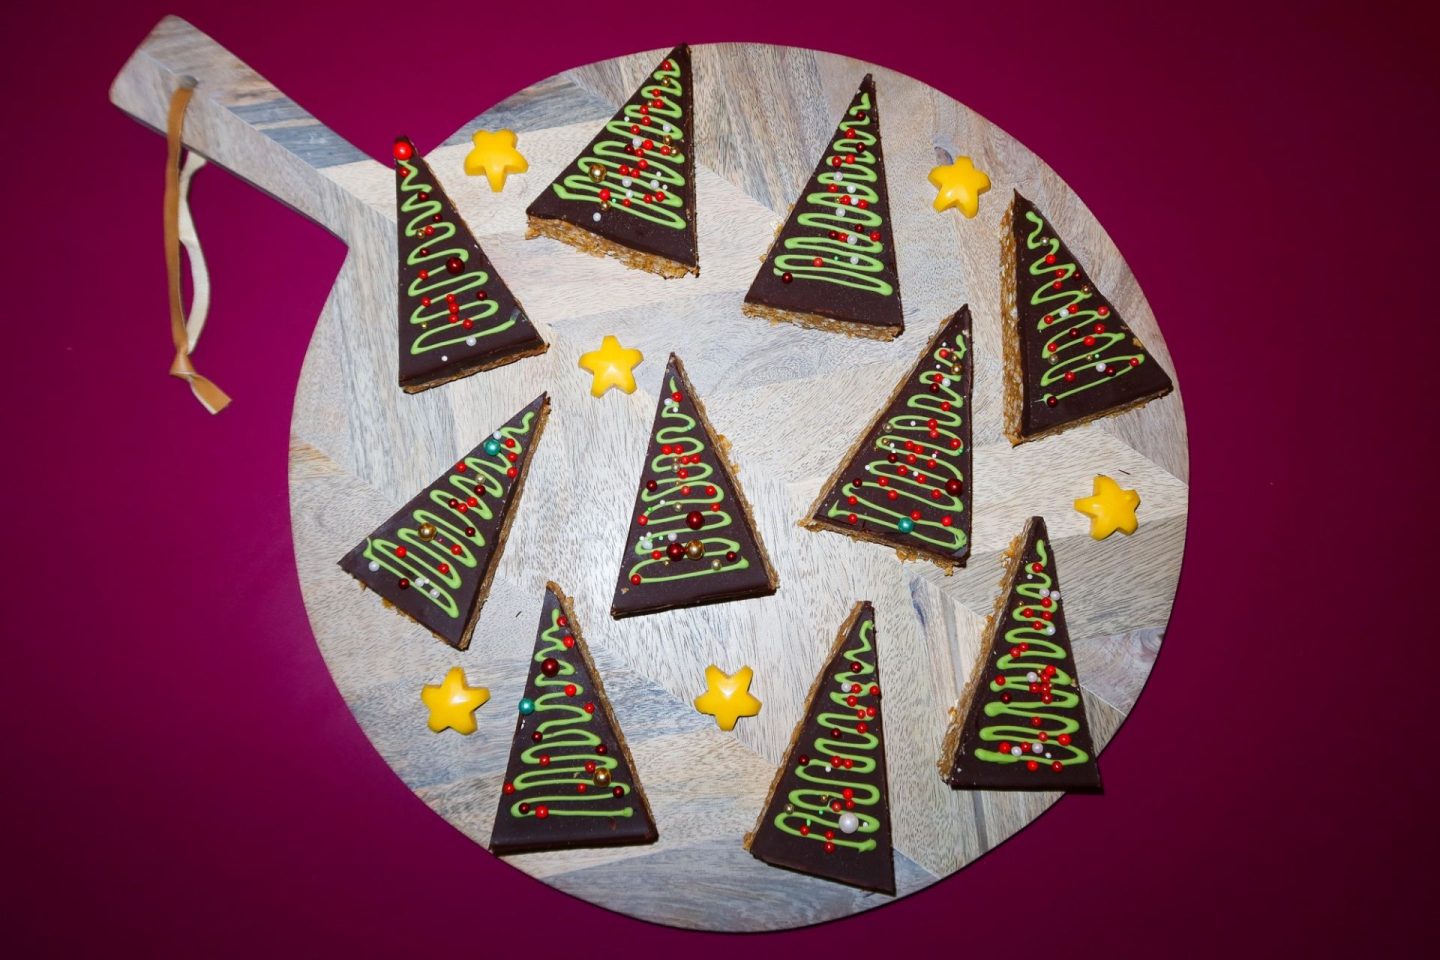
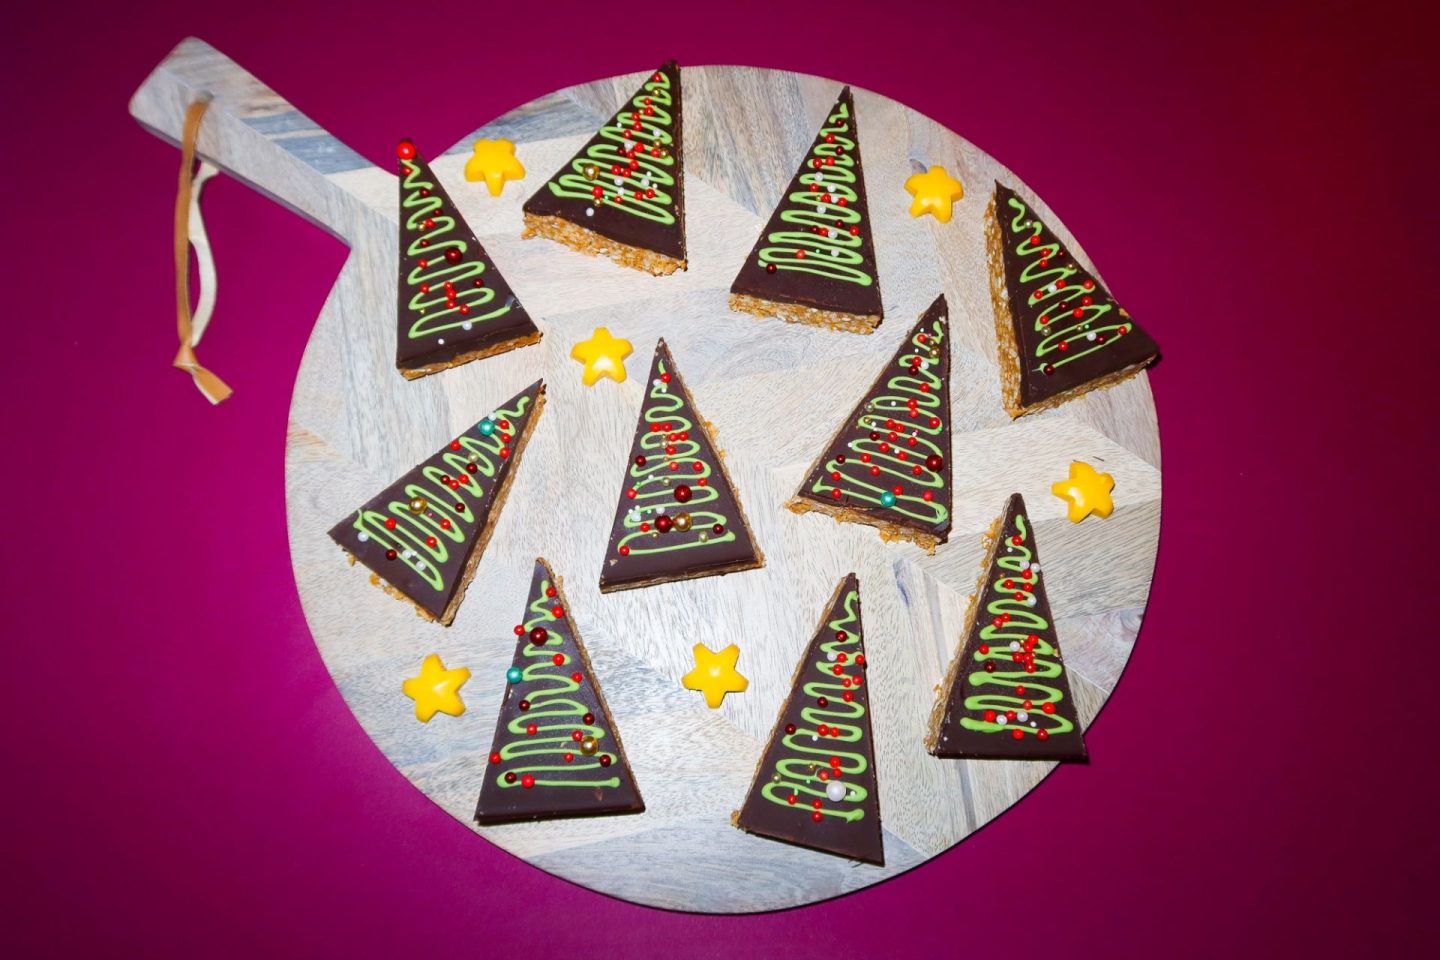

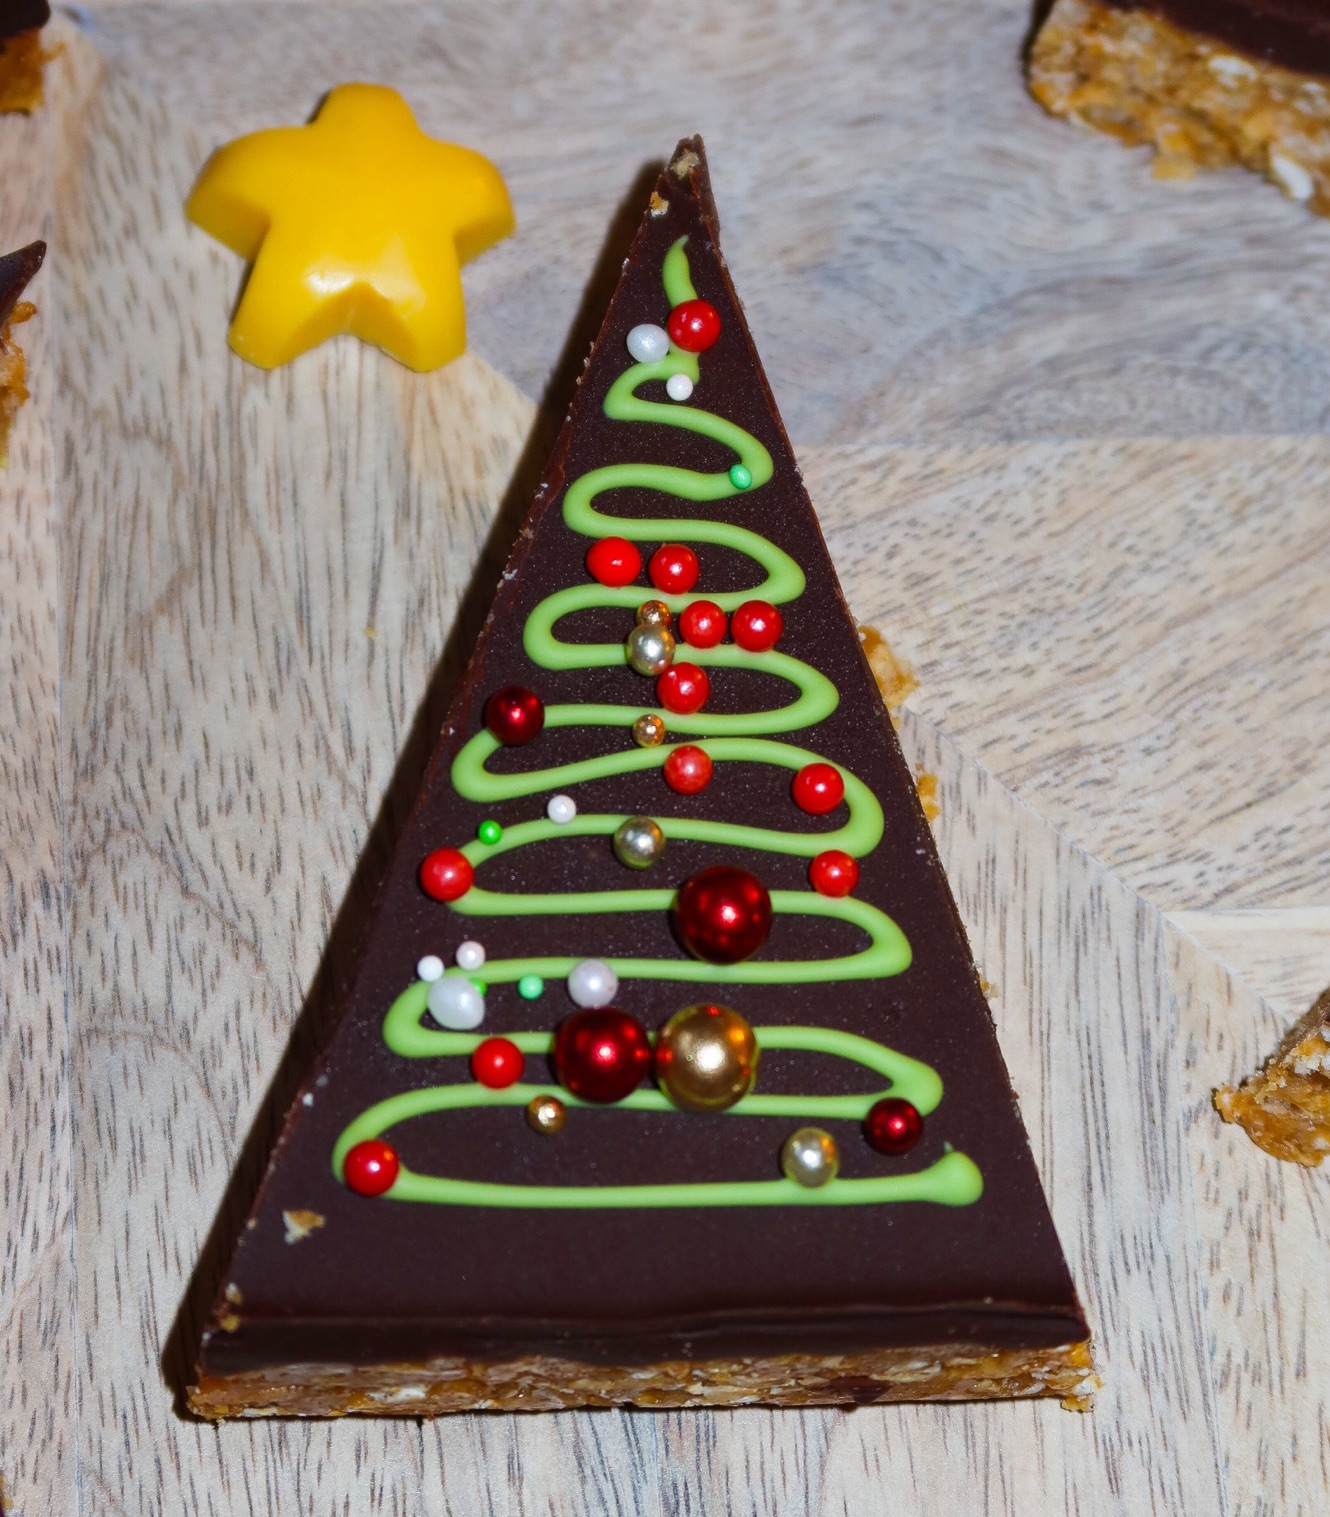

You can’t deny how ridiculously quick and easy these are to make, chill and decorate!
Simple yet effective and utterly delicious – my favourite kind of bake, don’t you agree?
These were an absolute hit with my friends and family, so I can guarantee those peanut butter lovers in your life will love these.
Let me know in the comments below if you make these christmas trees yourself and if you do, what your thoughts are on them. Are you a peanut butter lover? Do these have you salivating?
Sending you all tons of love & hugs as always,
Elle xo
