
Hello lovelies,
When preparing my list of sweet treats I wanted to use in my ‘no-bake bars’ series, Oreo biscuits were at the very top.
I just knew that Oreo biscuits would absolutely slap in this series. I mean, when don’t Oreo biscuits work in a recipe? They are that one biscuit you can guarantee will always taste good in whatever bake you do, it’s just a given.
And let’s just say, I wasn’t wrong! Oreo’s were the perfect addition to my no-bake bars.
With Oreo’s being used throughout the entire bar (from the base, to the filling and the topping) these bars celebrate the Oreo and all its deliciousness perfectly! They add the perfect amount of crunch to the filling and topping whilst creating a fudge like texture for the base – it’s just sensational.
And i knew I had to share it with you all as I know for a fact that you Oreo lovers out there are going to love these!
I don’t think much more needs to be said other than these are unbelievably delicious and you need to recreate these asap.
So, if these sound like a bar you’d be interested in making, you know the drill by now. Keep on scrolling below and you’ll find today’s recipe.


Category: Sweet Treat
Servings: 16 Bars
Prep Time: 20 Minutes
Chill Time: Minimum Of 4 Hours
Overall Time: 4+ Hours
Ingredients You Need For The Base:
- 450g Of Oreo Biscuits
- 1x Tin (397g) Of Condensed Milk
- 150g Of Unsalted Butter
Ingredients You Need For The Topping:
- 200g Of White Chocolate
- 100g Of Cookies & Crème Spread
- 100g Of Oreo’s, Crushed
How To Make The Oreo Bars:
- Firstly, gather together your equipment and ingredients and line a 9” loose-bottomed, square baking tin with parchment paper.
- Secondly, in a food processor (or a ziplock bag with a rolling pin), crush the 450g of oreo biscuits into crumbs.
- Transfer the oreo biscuit crumbs into a mixing bowl. Add 150g of melted unsalted butter and 1 tin of condensed milk and mix until combined.
- Now, press the biscuit mixture evenly into the base of the prepared baking tin and set to one side.
- In a medium saucepan placed over a low heat, melt together the 200g of white chocolate and 100g of cookies & crème spread until completely melted together.
- Pour the chocolate mixture on top of the biscuit mixture base, using a spoon to spread it out evenly. Give the tin a gentle shake to disburse any air bubbles.
- Sprinkle the 100g of crushed oreo pieces across the top of the chocolate layer until it’s completely covered. Carefully and lightly push the oreo pieces into the chocolate so that it sticks.
- Place into the fridge and allow to chill for a minimum of 4 hours, until the chocolate is set.
- Finally, once chilled, take out the fridge and very carefully remove from the tin. Cut into 16 bars and serve.
That’s your No-Bake Oreo Bars prepared, layered and chilled, ready for you to enjoy!
Notes:
- Store in an airtight container in the refrigerator for 3-5 days or in an airtight container at room temperature for 2-3 days.
- You can totally adapt this recipe by changing the ingredients to cater to your preferred taste, for example: change the white chocolate for dark or milk or change the oreo biscuits for a different biscuit – the choices are endless.
- I brought my Cookies & Crème spread from Asda: https://www.asda.com/groceries/product/chocolate-sweet-spreads/asda


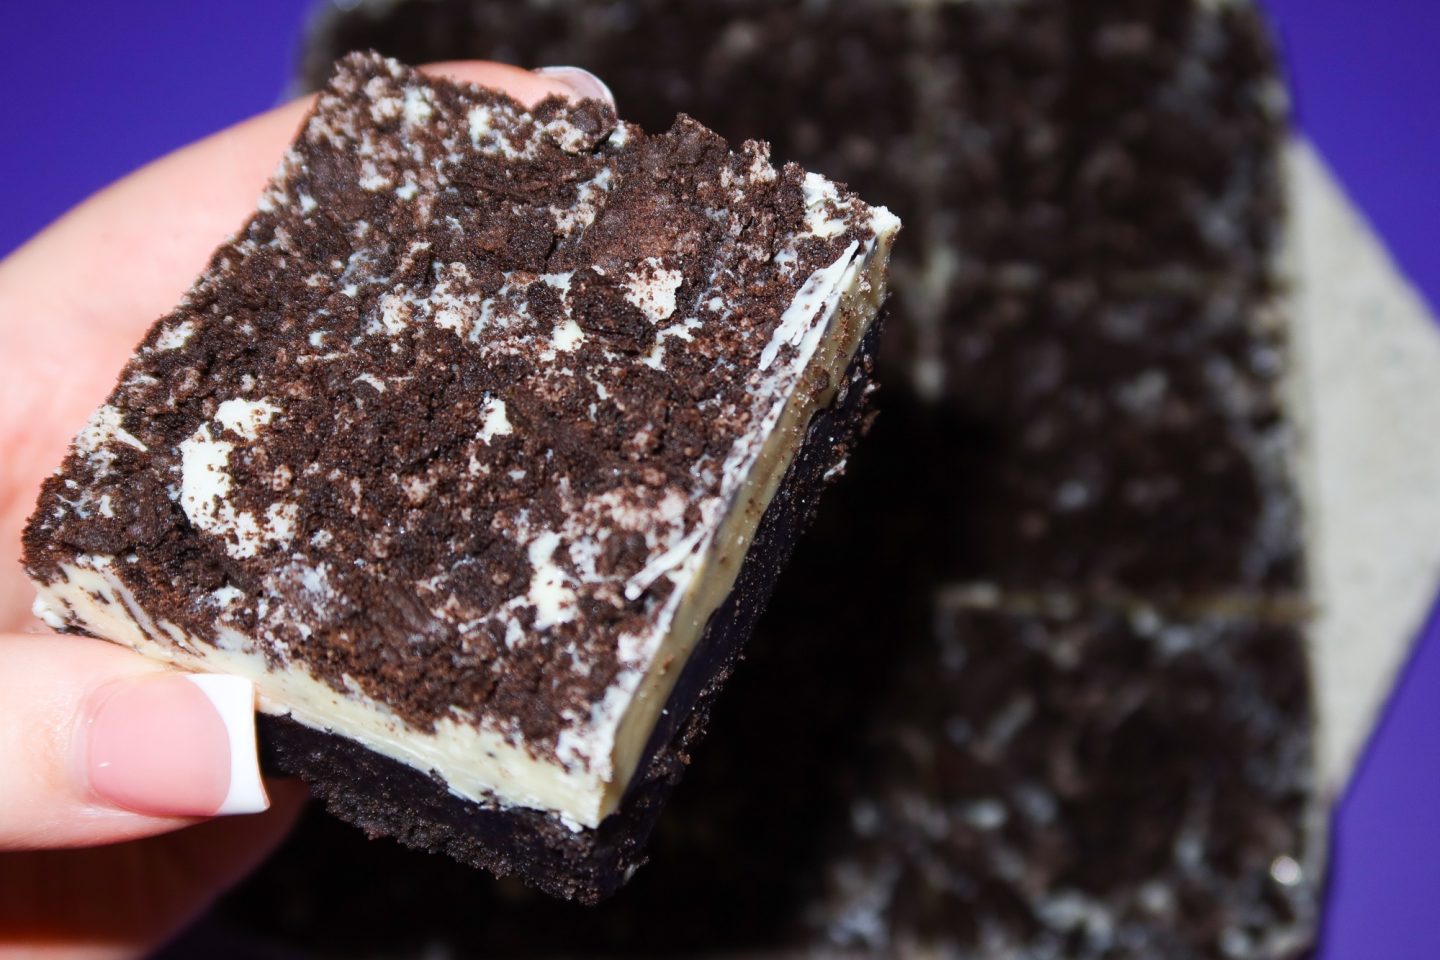

Are you salivating? Have these bars got your stomach rumbling and your taste buds eager to try?
I just love the simplicity of these bars! Whilst only using 5 ingredients, these bars create a punch of flavour which is guaranteed to have you coming back for more.
Oreo’s were the perfect addition!
Let me know in the comments below if you make these bars yourself and if you do, what your thoughts are on them. Are you a Oreo lover? Did you love them in these no-bake bars?
Sending you all tons of love & hugs as always,
Elle xo
