
Hello lovelies,
After many trials, many failed attempts and close break downs, I’m delighted that I’ve finally mastered my idea of a ‘perfect’ brownie.
Now, everyone has different ideas on how a brownie should be, whether it’s gooey in the centre, thin or thick, there’s plenty of ways a brownie can be made. For me, I want a brownie which is the perfect between of not too thin but not massively thick, a fudgey centre and a crisp outer edge.
And that’s exactly what I’ve achieved! So, now that I’ve mastered my perfect brownie, it’s time for my absolute favourite part of baking – it’s time to play around with different fillings and flavours!
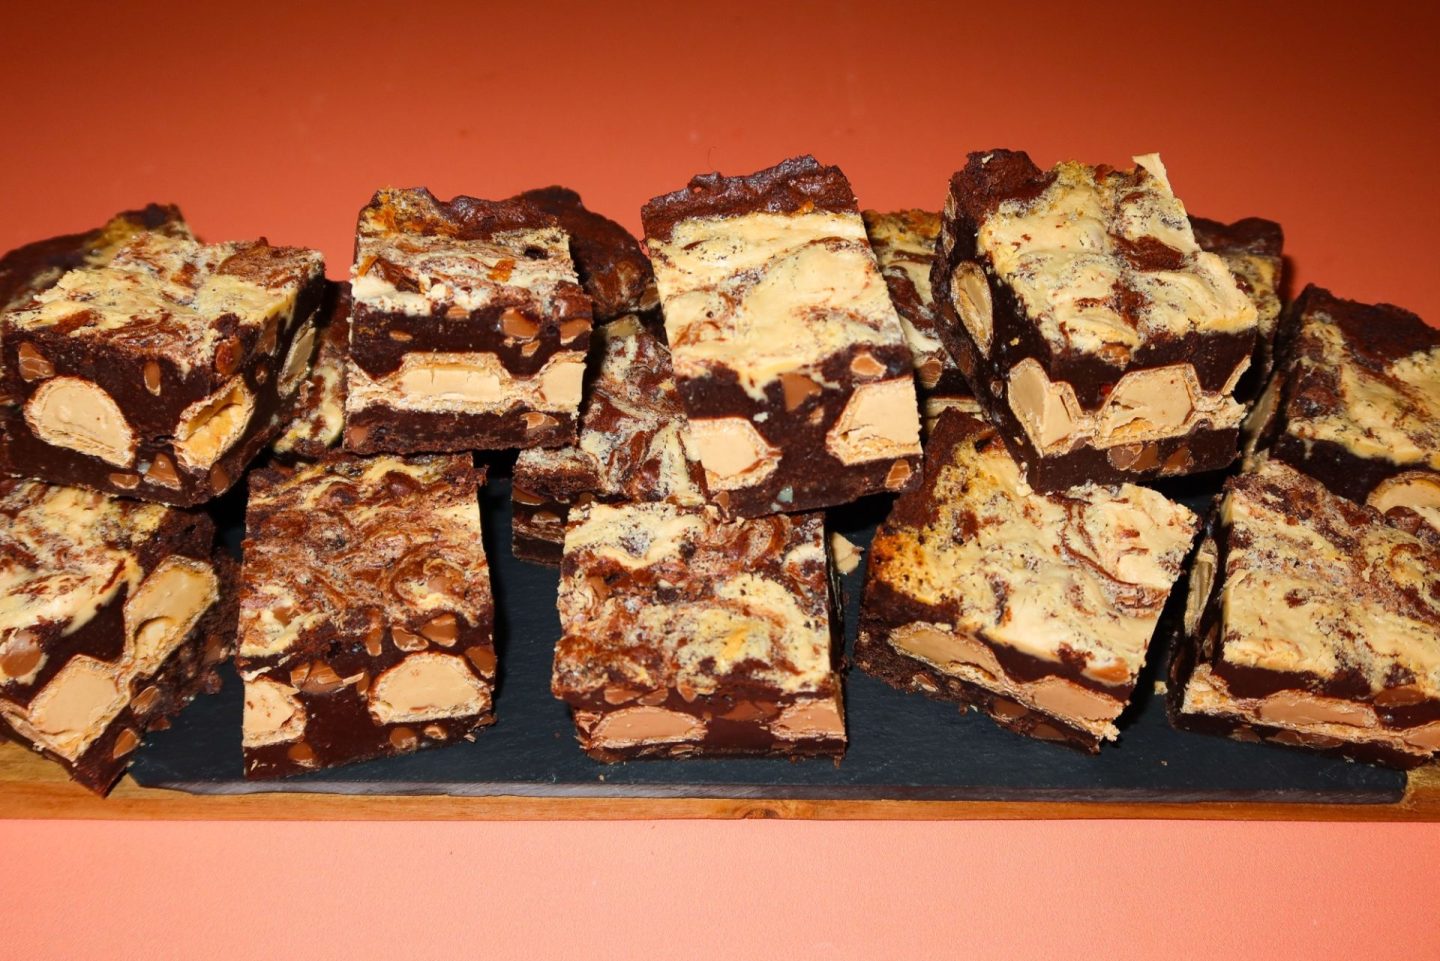
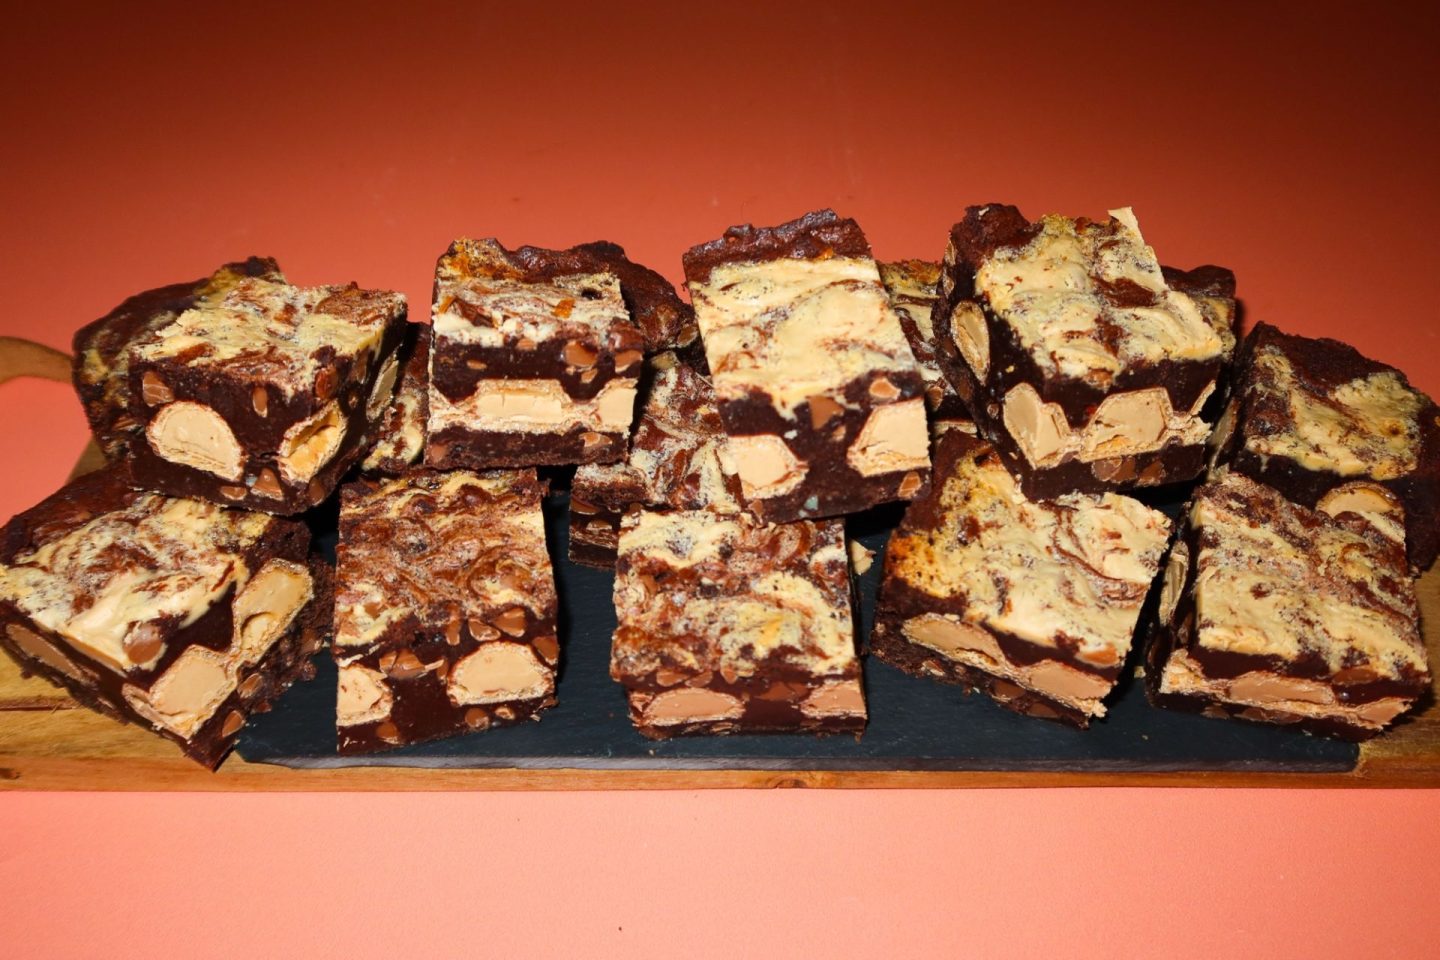
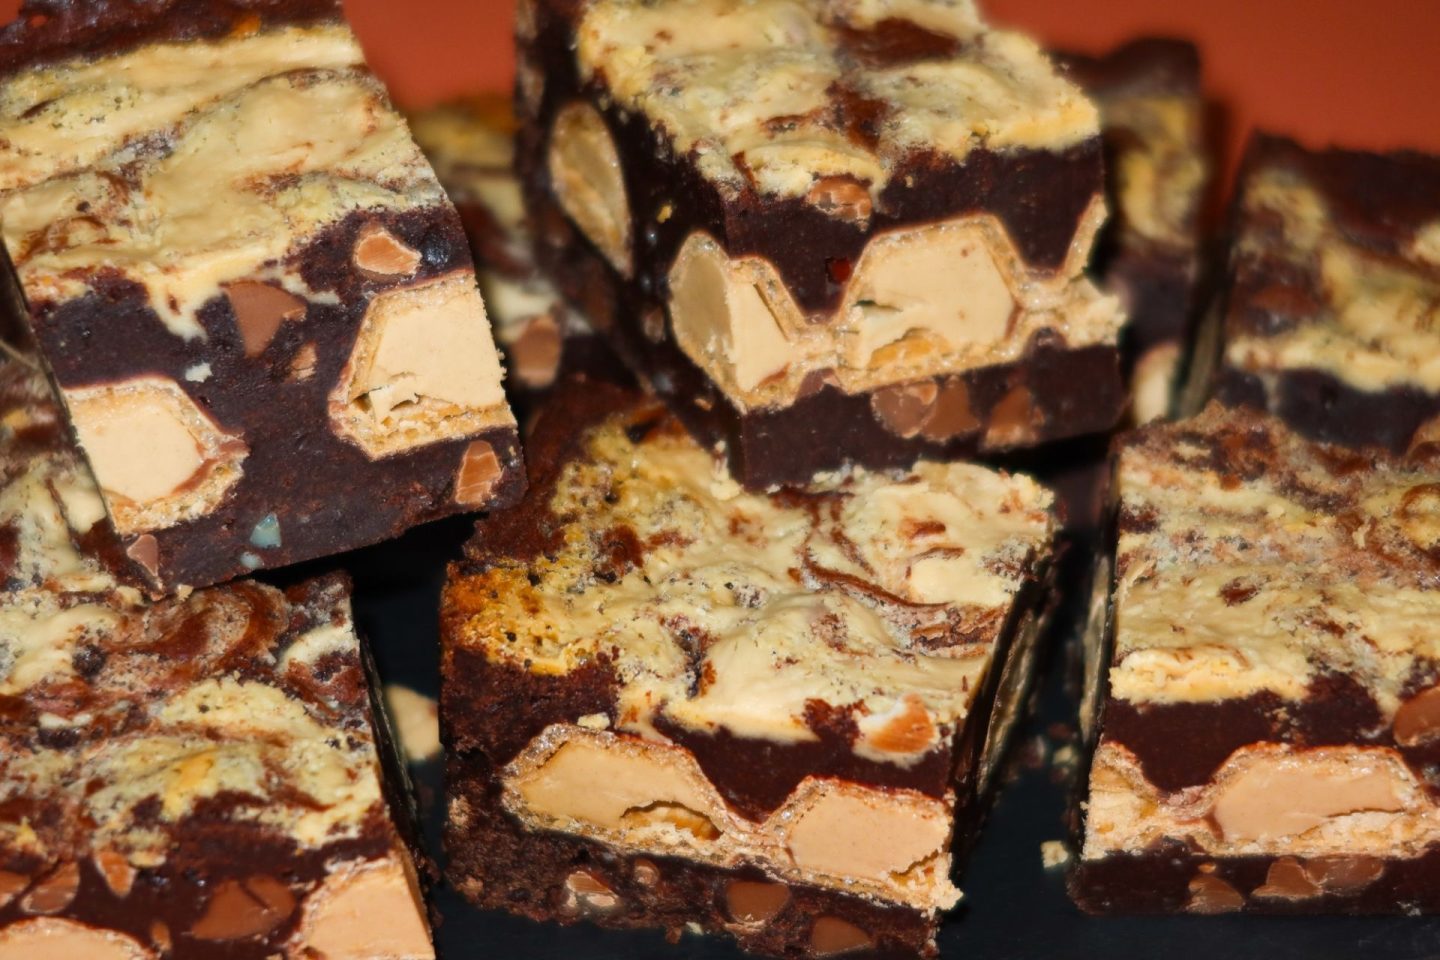
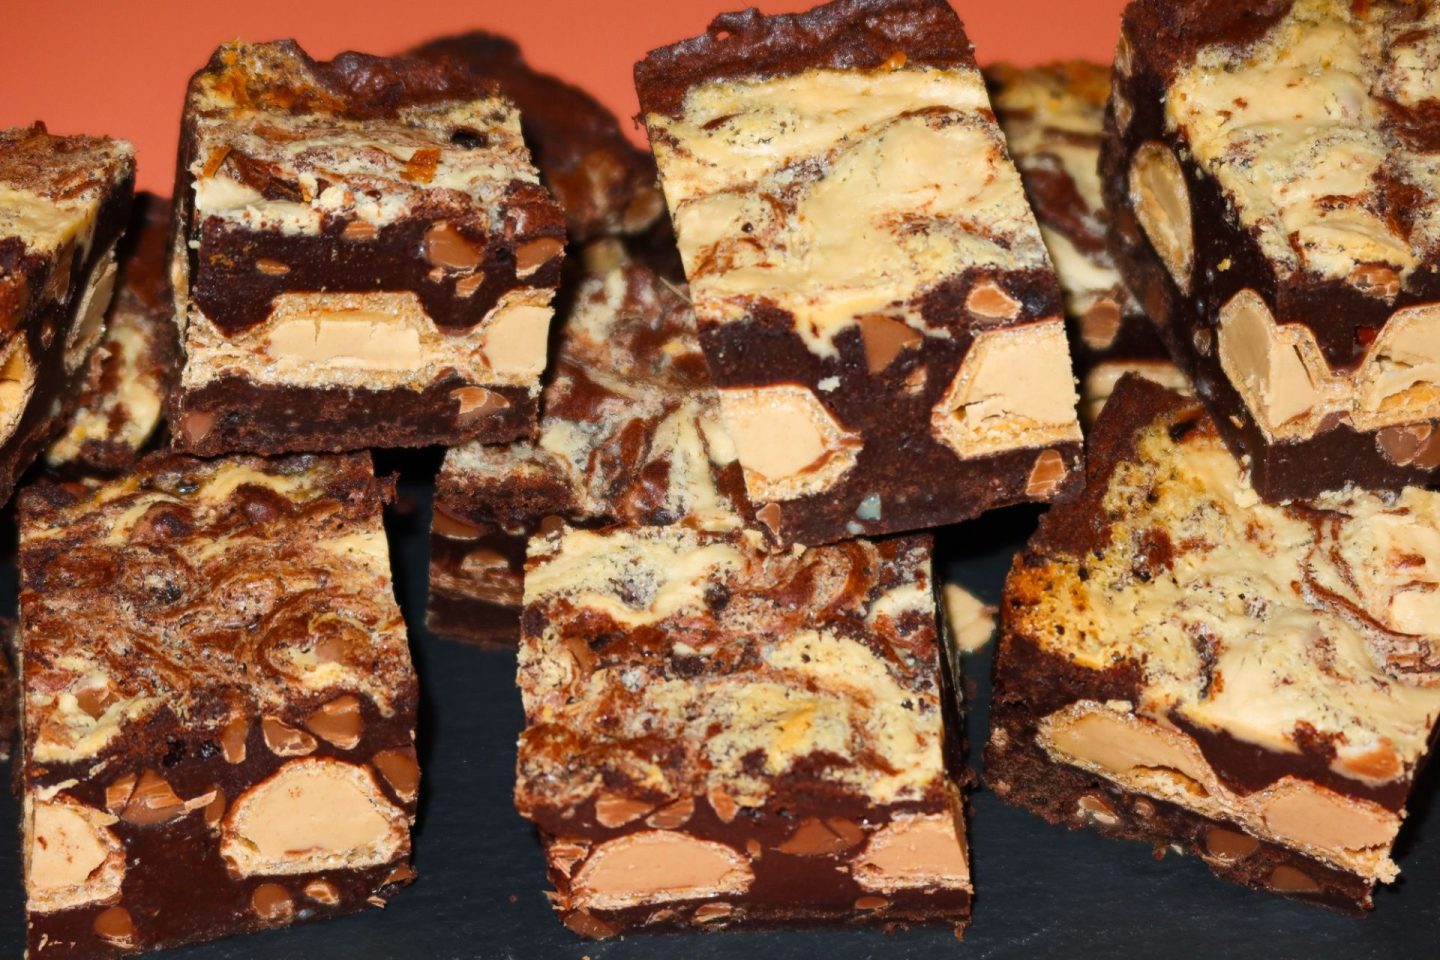
Therefore, it only felt right that I start with my all time favourite chocolate bar… kinder bueno! Let’s just say, I certainly didn’t scrimp on the bueno either. This brownie I’m sharing with you today is filled to the absolute brim and I’m blooming obsessed with the outcome.
With a layer of kinder bueno bars in the centre and a bueno sauce swirl ontop, these brownies have become a firm favourite and an absolute must try for you kinder bueno lovers!
So, if these kinder bueno brownies have caught your attention and got you wanting to bake a batch yourself, you know the drill. Keep on scrolling below and you’ll find today’s recipe.
Category: Desert / Sweet Treat
Servings: 16 Pieces
Prep Time: 20 Minutes
Bake Time: 30-35 Minutes
Chill Time: 4+ Hours
Overall Time: 4+ Hours
Ingredients You Need:
- 200g Of 70% Cocoa Dark Chocolate
- 200g Of Unsalted Butter
- 3 Large Eggs
- 275g Of Caster Sugar
- 100g Of Plain Flour
- 50g Of Cocoa Powder
- 200g Of Milk Chocolate Chips
- 4 Bars Of Kinder Bueno (8 Fingers)
- Bueno Sauce
How To Make These Kinder Brownies:
- Firstly, gather together your equipment and ingredients, line a 9” loose bottomed, square baking tin with parchment paper and preheat the oven to 180C / 160C Fan / Gas Mark 5.
- Secondly, in a microwavable bowl, add both the 200g of dark chocolate and 200g of unsalted butter. Place the bowl into the microwave and in 20 second blasts, blast the butter/chocolate until fully melted.
- When both the ingredients have melted, remove from the microwave and place to one side to cool to room temperature.
- Now, in a large bowl, using an electric whisk, whisk together the 3 large eggs with the 275g of caster sugar for around 8 minutes, until the colour has turned pale, is a mousse like texture and the volume has doubled in size (TIP: you will know it’s done when you lift the whisk up out from the mixture and it should leave a trail for a couple of seconds, before disappearing).
- Once whisked, pour the cooled melted chocolate/butter mixture over the eggs and very carefully fold together (TIP: being careful and patient is crucial at this stage because you don’t want to knock the air out of the mixture).
- When combined, sift in the 100g of plain flour and 50g of cocoa powder and carefully fold into the mixture.
- Carefully fold in the 200g of milk chocolate chips.
- Pour half of the brownie batter into the prepared baking tin and spread out evenly.
- Take 4 of kinder bueno bars (8 fingers) and lay them on top of the batter.

- Pour the remaining half of the brownie batter on top of the kinder bueno bars and spread out evenly, making sure the bueno bars are completely covered.
- Drizzle the bueno sauce over the top of the brownie batter and using a skewer, swirl the sauce into the batter.
- Place the brownie into the oven to bake for 25-30 minutes, until there’s a slight wobble in the centre of the brownie and the edges are set.
- Once baked, remove the brownies from the oven and allow to cool fully in the tin before transferring into the fridge to chill for 4+ hours (this will give the brownie that fudgy texture).
- Finally, after chilling, carefully remove the brownies from the tin and cut into 16 squares.
That’s your Kinder Bueno Brownies prepared, baked, cooled and chilled, ready for you to enjoy!
Notes:
- Keep these kinder bueno brownies stored in an airtight container, in the refrigerator for up to 1 week.
- I would recommend leaving the brownies in the fridge so you keep a fudgey centre in the brownies.
- I used the Dolly’s Desert, Dessert Topping in Bueno for the swirl ontop of the brownie: https://www.dollysdesserts.co.uk/products/dessert-toppings
- Alternatively, you could use the M&S Italian Hazelnut Crème for the swirl ontop of the brownie.

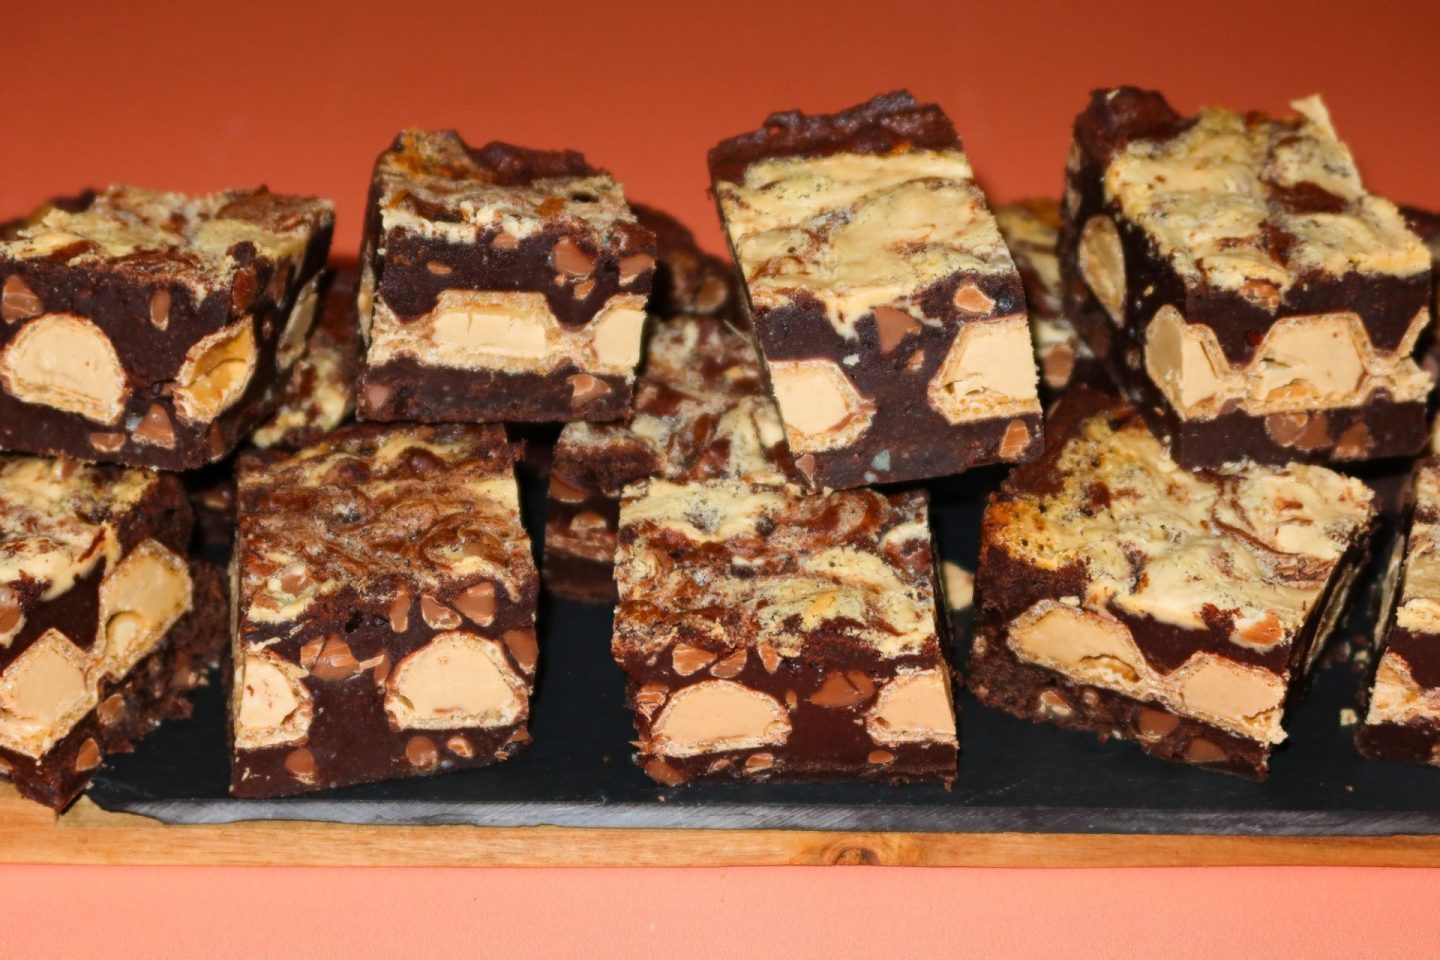
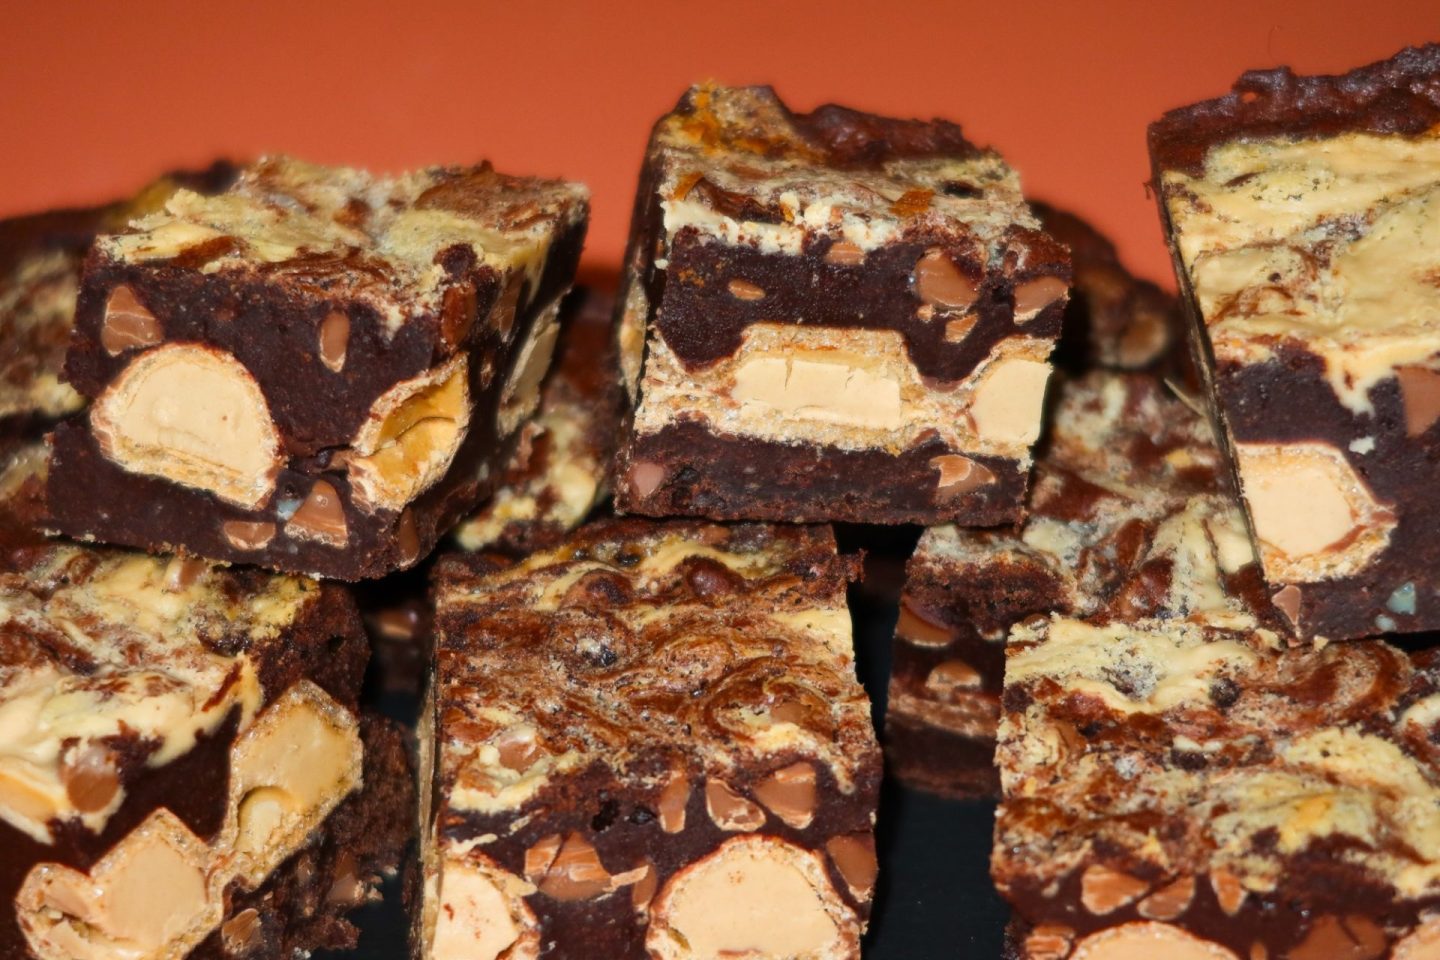
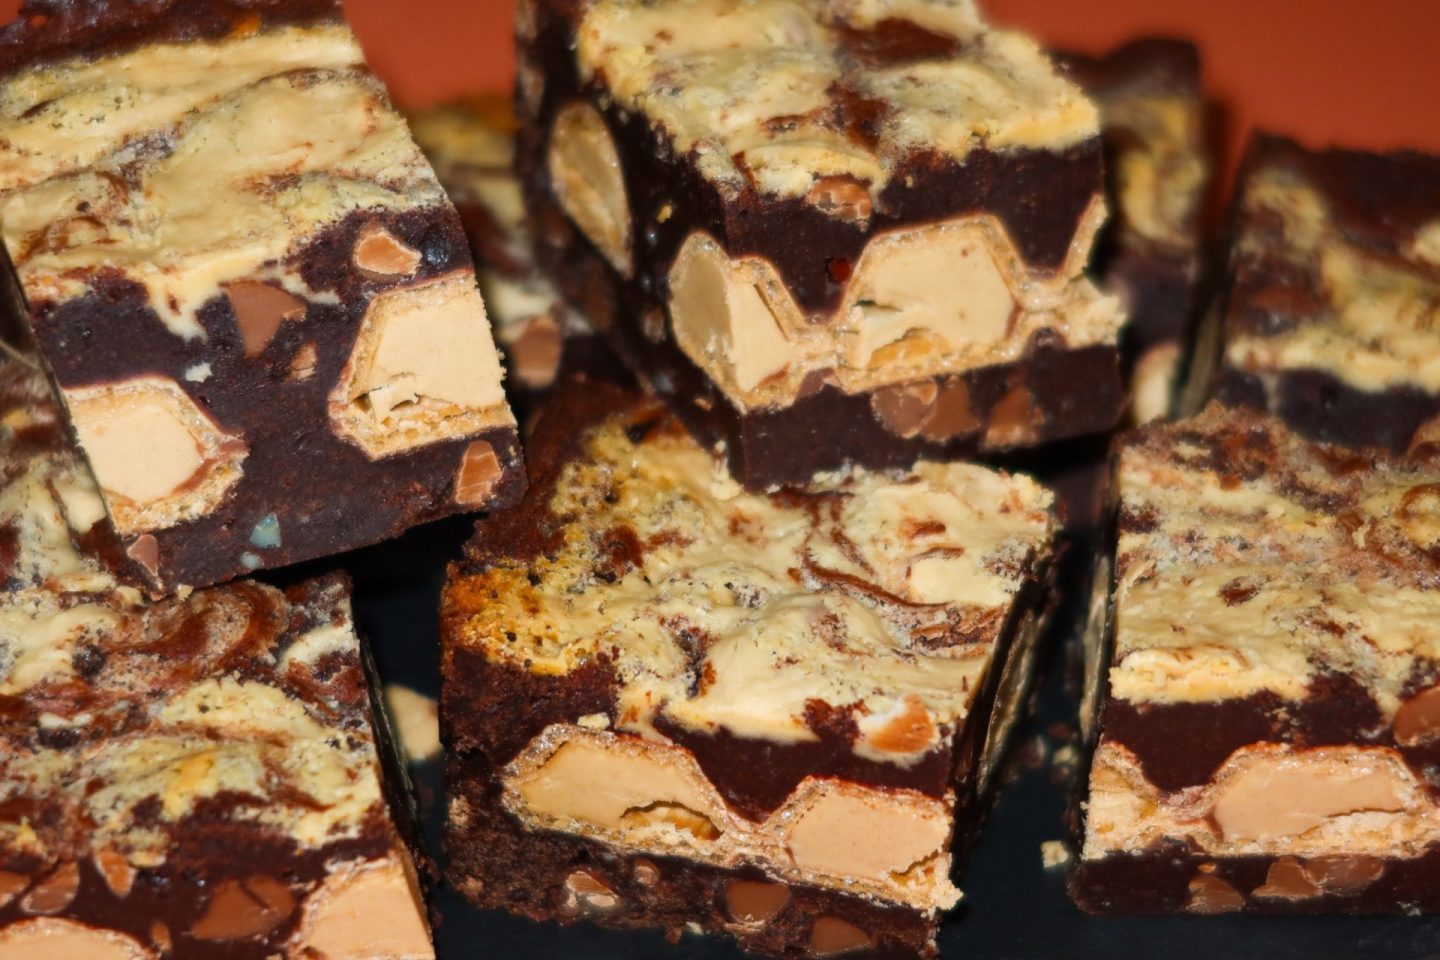
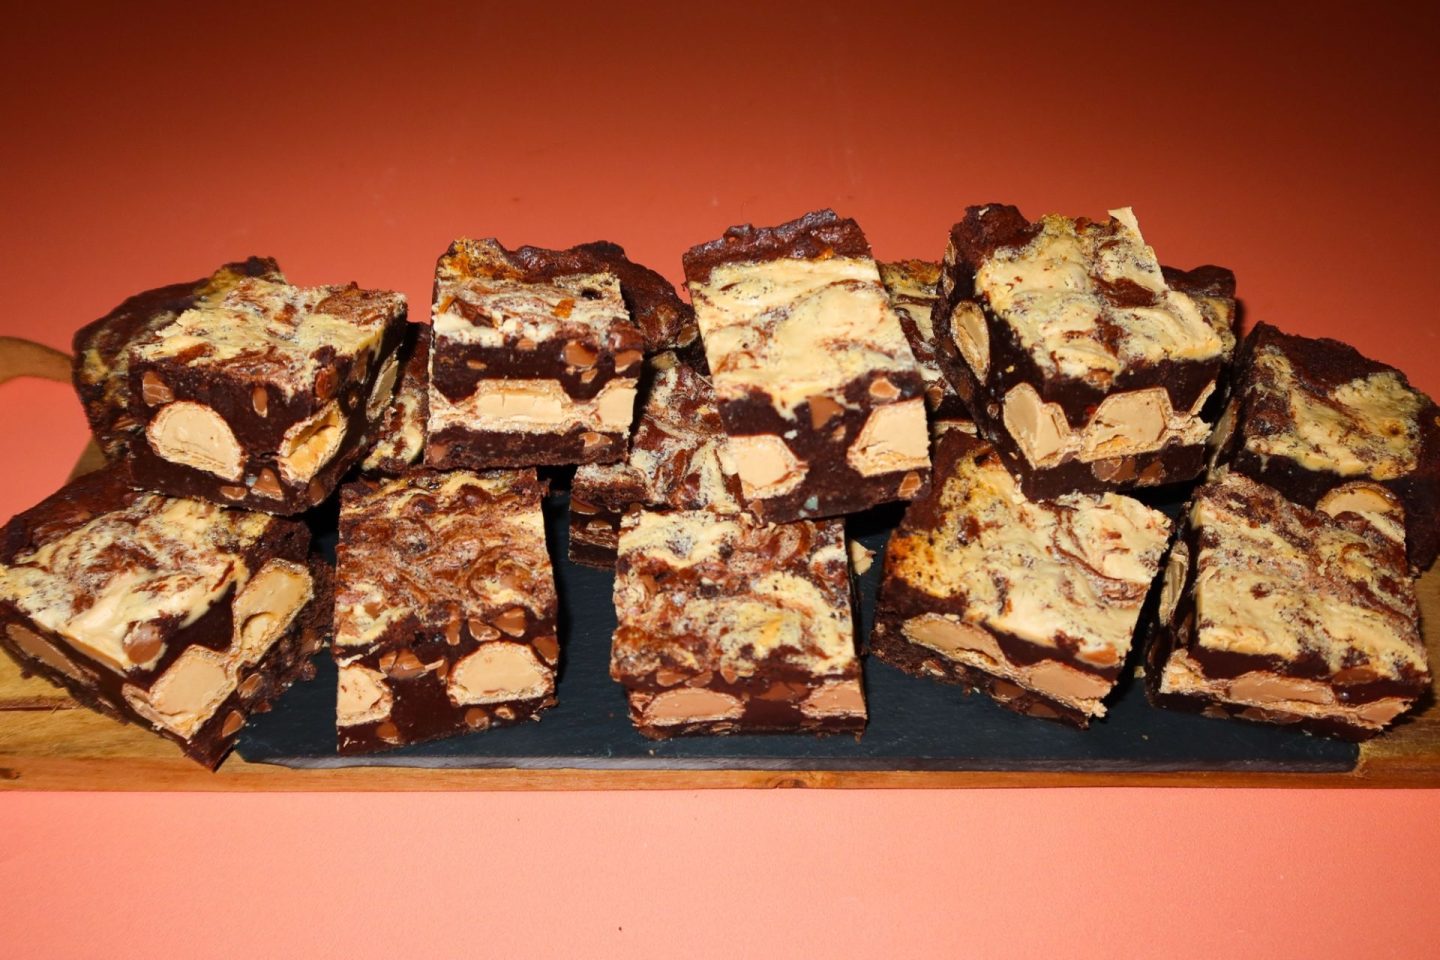
Quick, easy and utterly delicious – what more could you possibly want from a freshly made batch of brownies?
If you hadn’t gathered already, I am absolutely obsessed with the finished result of today’s brownies. You kinder bueno lovers are in for a treat with these beauties.
Let me know in the comments below if you make these brownies yourself and if you do, what your thoughts are on them. Are you a kinder bueno lover? How do you like your brownies?
Sending you all tons of love & hugs as always,
Elle xo
