
Hello lovelies,
If I’ve told you guys once, I’ve told you 1000 times that I’m a cherry bakewell girl to my very core and nothing excites me more than seeing bakers take cherry bakewell flavours and turn them into all different types of incredible sweet treats.
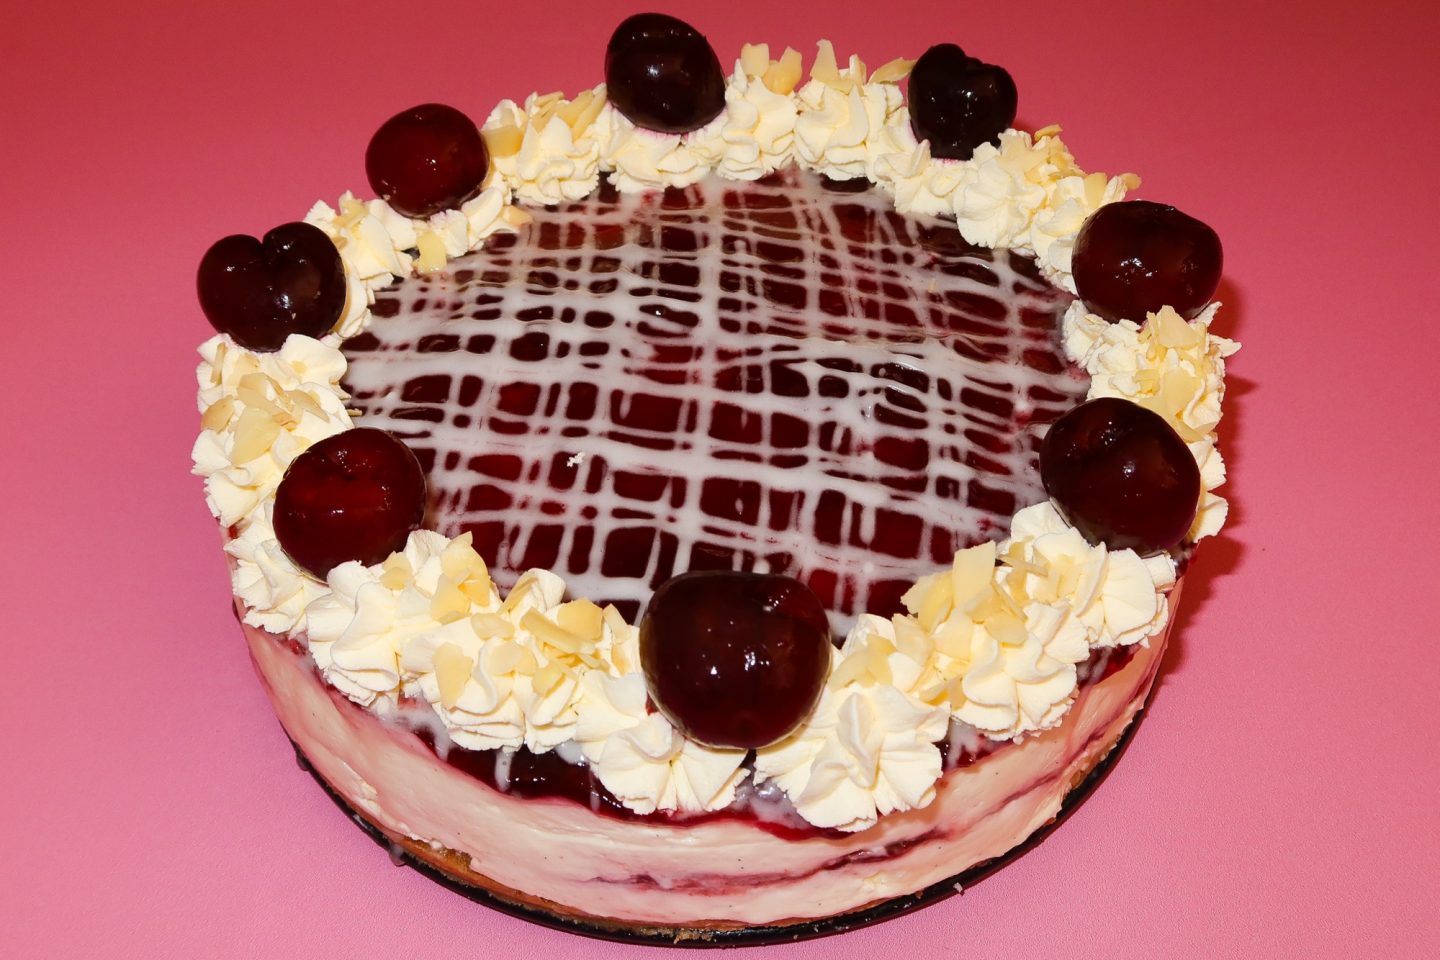
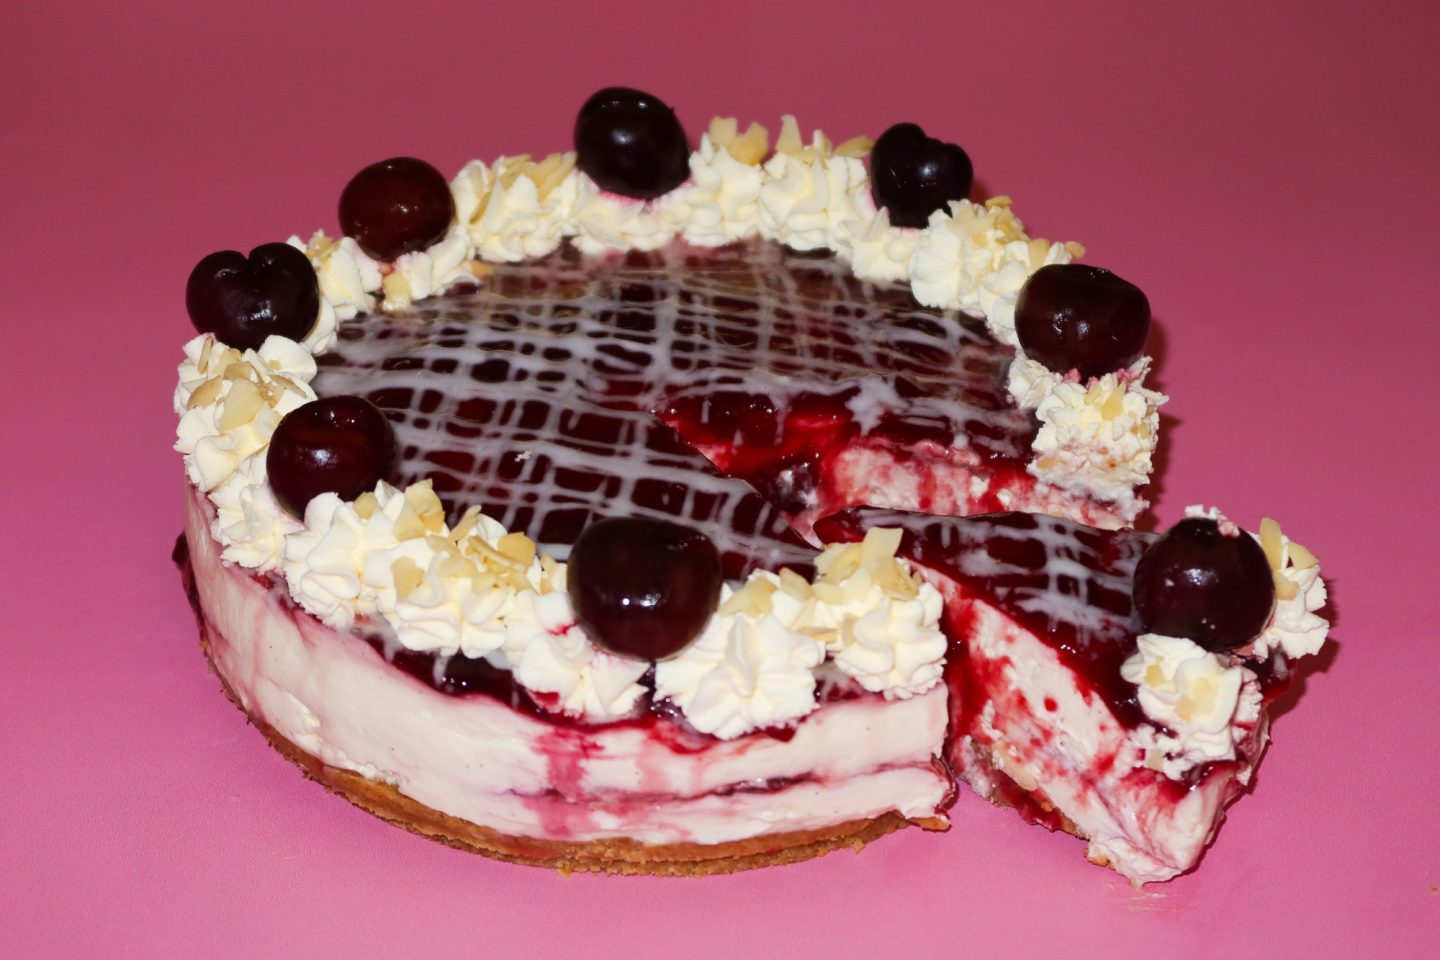
Today’s recipe is in fact inspired by the incredibly talented Janes Patisserie who shared her version of a cherry bakewell cheesecake and as you can imagine, I immediately felt inspired and knew I had to recreate.
{ Jane’s Original Recipe: https://www.janespatisserie.com/2017/05/29/cherry-bakewell-cheesecake/ }
I like to think of myself as a cherry bakewell connoisseur and as a connoisseur I can fully confirm that you cherry bakewell lovers out there will be completely and utterly obsessed with this recipe.
From the base, to the cheesecake filling, to the added extras on top – this cheesecake surpassed my expectations and I knew after first bite that I had to share my version of this cherry bakewell cheesecake with you all asap.
So, if a cherry bakewell cheesecake sounds like something you’d enjoy, you know the drill by now. Keep on scrolling below and you’ll find today’s recipe.
Category: Desert
Servings: 8-10 Slices
Prep Time: 20 Minutes
Chill Time: 5-6 Hours Or Overnight
Decorating Time: 15 Minutes
Overall Time: 6+ Hours
Ingredients You Need For The Cheesecake Base:
- 275g Of Digestive Biscuits
- 50g Of Flaked Almonds
- 150g Of Unsalted Butter, Melted
Ingredients You Need For The Cheesecake Filling:
- 600g Of Full Fat Philadelphia Cream Cheese
- 100g Of Icing Sugar
- 2tsp Of Vanilla Bean Paste / Extract
- 3tsp Of Almond Extract
- 300ml Of Double Cream
- 200g Of Cherry Jam/Conserve
Ingredients You Need To Decorate:
- 50g Of Royal Icing Sugar
- 2tsp of Cold Water
- 1tsp Of Almond Extract
- 150ml Of Double Cream
- Fresh Or Frozen (Thawed) Cherries
- Flaked Almonds, Chopped
How To Make The Cheesecake Base:
- Firstly, gather together your equipment and ingredients and line the base of a 8” circle, springform baking tin with parchment paper.
- Secondly, in a food processor, blitz the 275g of digestive biscuits and 50g of flaked almonds until they resemble a fine crumb (the biscuits can also be crushed in a sandwich bag with a rolling pin and the almonds blitzed in a blender if you don’t have a food processor).
- Next, empty the biscuit and flaked almond crumbs into a large bowl.
- Add the 150g of melted unsalted butter into the large bowl with the biscuit crumbs and using a spoon, mix the butter into the crumbs.
- Now, pour the biscuit mixture into your prepared baking tin and using a spatula, press the mixture down firmly into the base of the tin, making sure it is levelled and evenly spread.
- Place the tin into the fridge to chill until needed.
How To Make The Cheesecake Filling:
- In a large bowl, using a electric whisk (or stand machine), mix together the 600g of full fat cream cheese with the 100g of icing sugar, 2tsp of vanilla extract and 3tsp of almond extract until smooth.
- Whilst whisking slowly, add the 300ml of liquid double cream into the cream cheese mixture and continue mixing slowly until it starts to thicken (don’t whip too fast as it may split).
- Once thick, add half the cheesecake filling ontop of the biscuit base and spread out evenly.
- Next, dollop the 100g of cherry conserve across the top of the cheesecake filling and using a knife, swirl the conserve into the cheesecake filling.
- Top with the remaining cheesecake filling and spread out until even and smooth.
- Now, add the remaining 100g of cherry conserve ontop of the cheesecake filling and spread out across the entire filling evenly.
- Place into the fridge for a minimum of 5-6 hours or ideally overnight to set.
How To Decorate:
- Once set, carefully remove from the tin and using a palette knife, smooth the edges of the cheesecake.
- In a small bowl, add 50g of royal icing, 2tsp of cold water and 1tsp of almond extract and mix together until you’ve got a thick but pipe-able icing consistency.
- Transfer the icing into a piping bag, snip the tip of the piping bag off and drizzle the icing across the top of the jam.
- Now, in a large bowl, using an electric whisk (or stand mixer), whip the double cream until thick.
- Transfer the whipped cream into a piping bag with a 2D closed star nozzle attached and pipe the whipped cream around the top of the cheesecake.
- Finally, top with the cherries and the chopped almonds and serve.
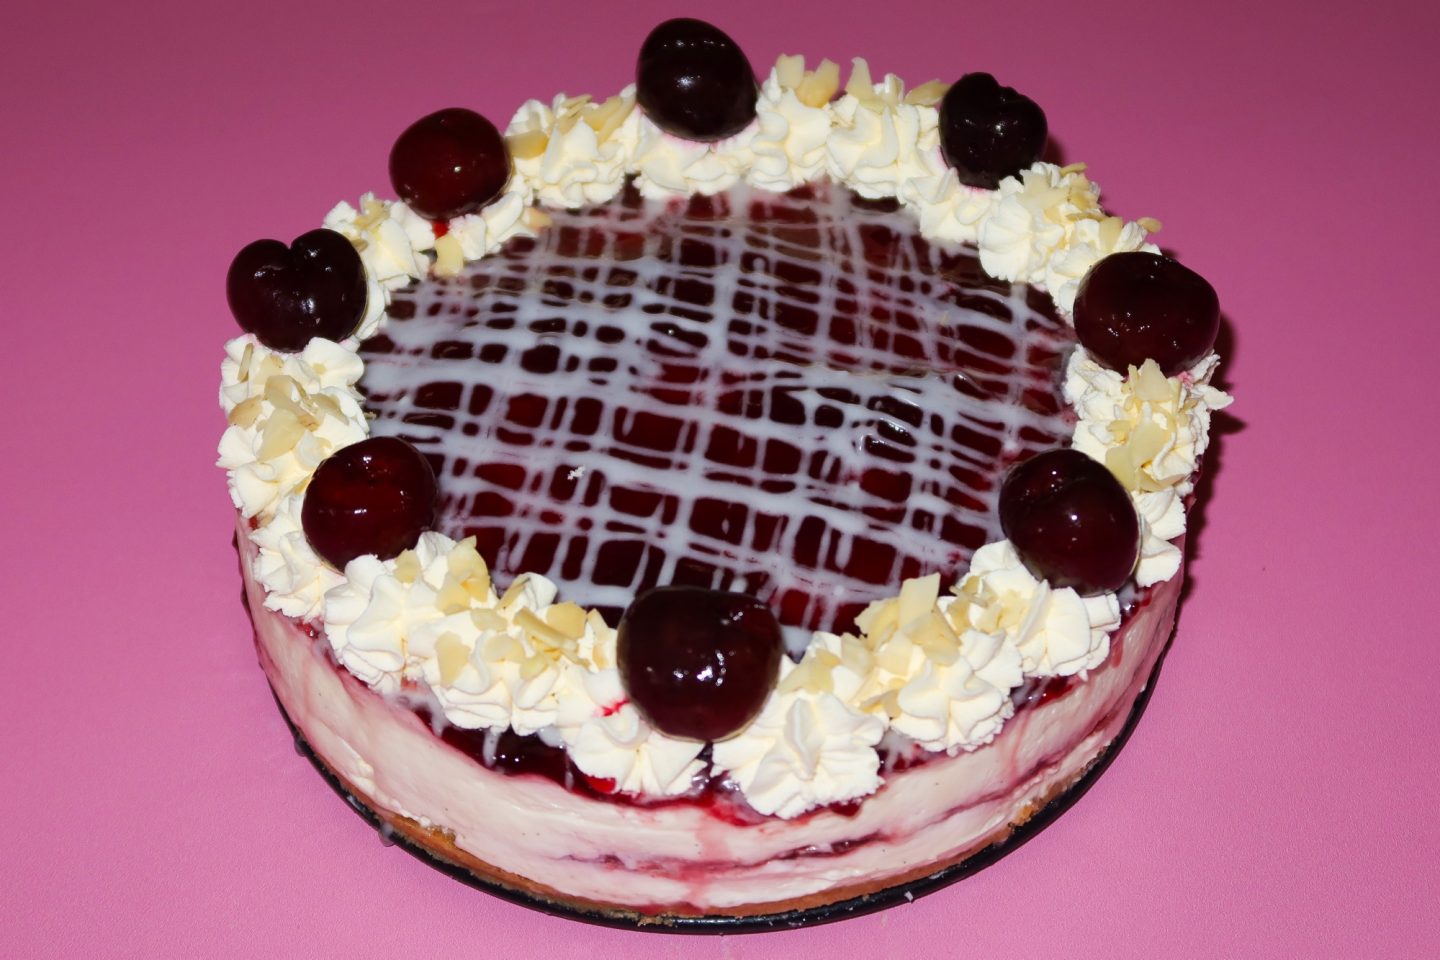
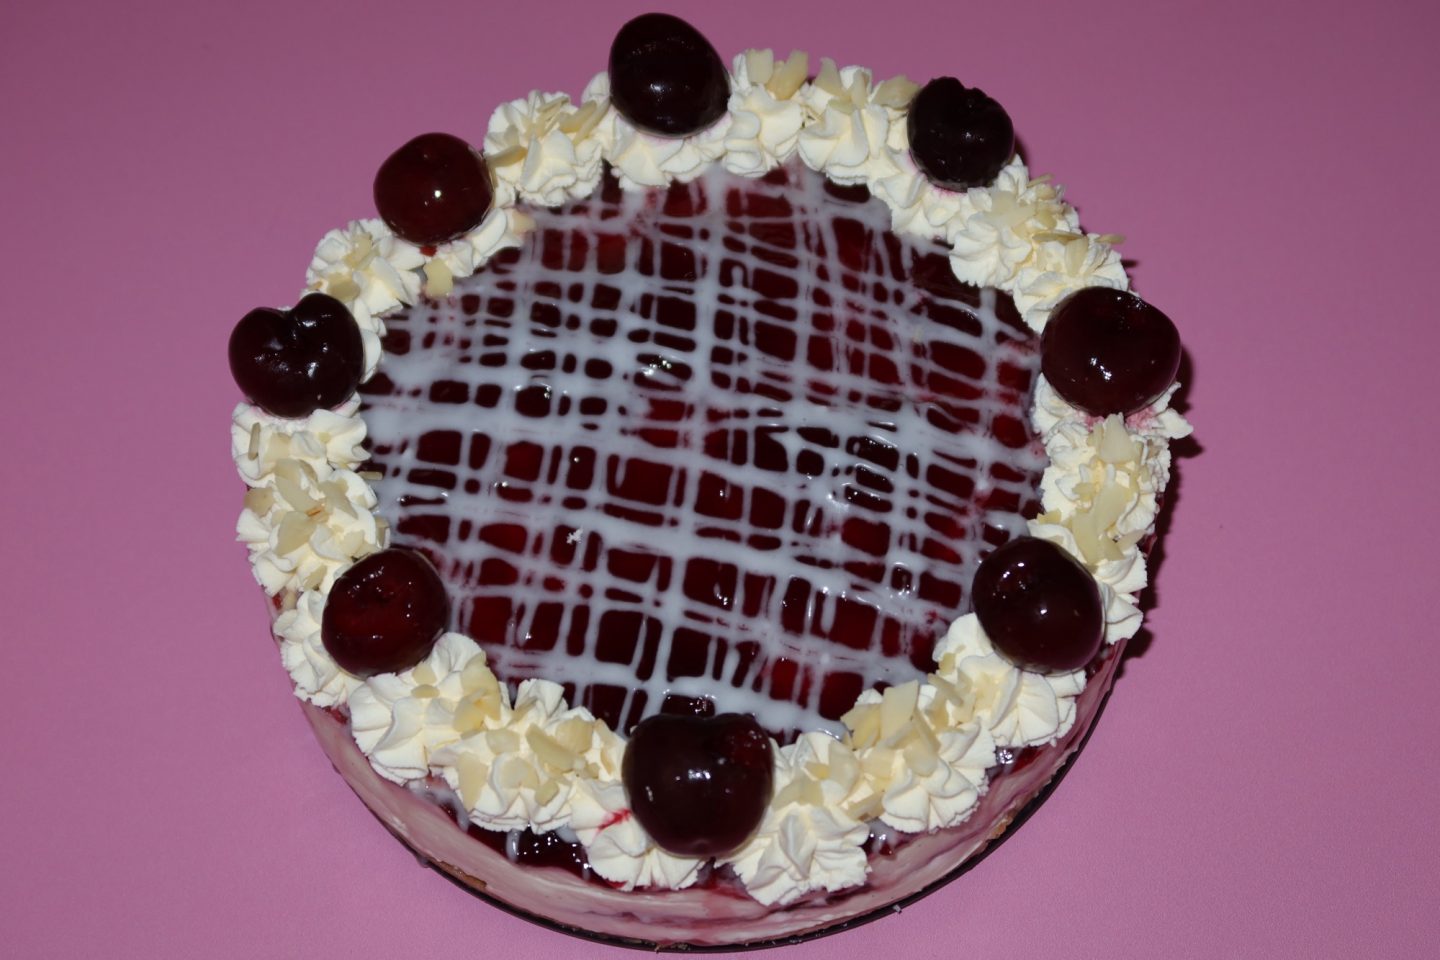
That’s your Cherry Bakewell Cheesecake prepared, chilled and decorated, ready for you to enjoy!
Notes:
- Store in the refrigerator for up to 4 days. However, for the freshest taste, eat on the day of decorating.
- I had to use defrosted frozen cherries as I didn’t have any fresh cherries. They worked perfectly fine but I will warn you that over time they do begin to leak some juices. I’d recommend fresh if possible but defrosted cherries do work with this recipe.


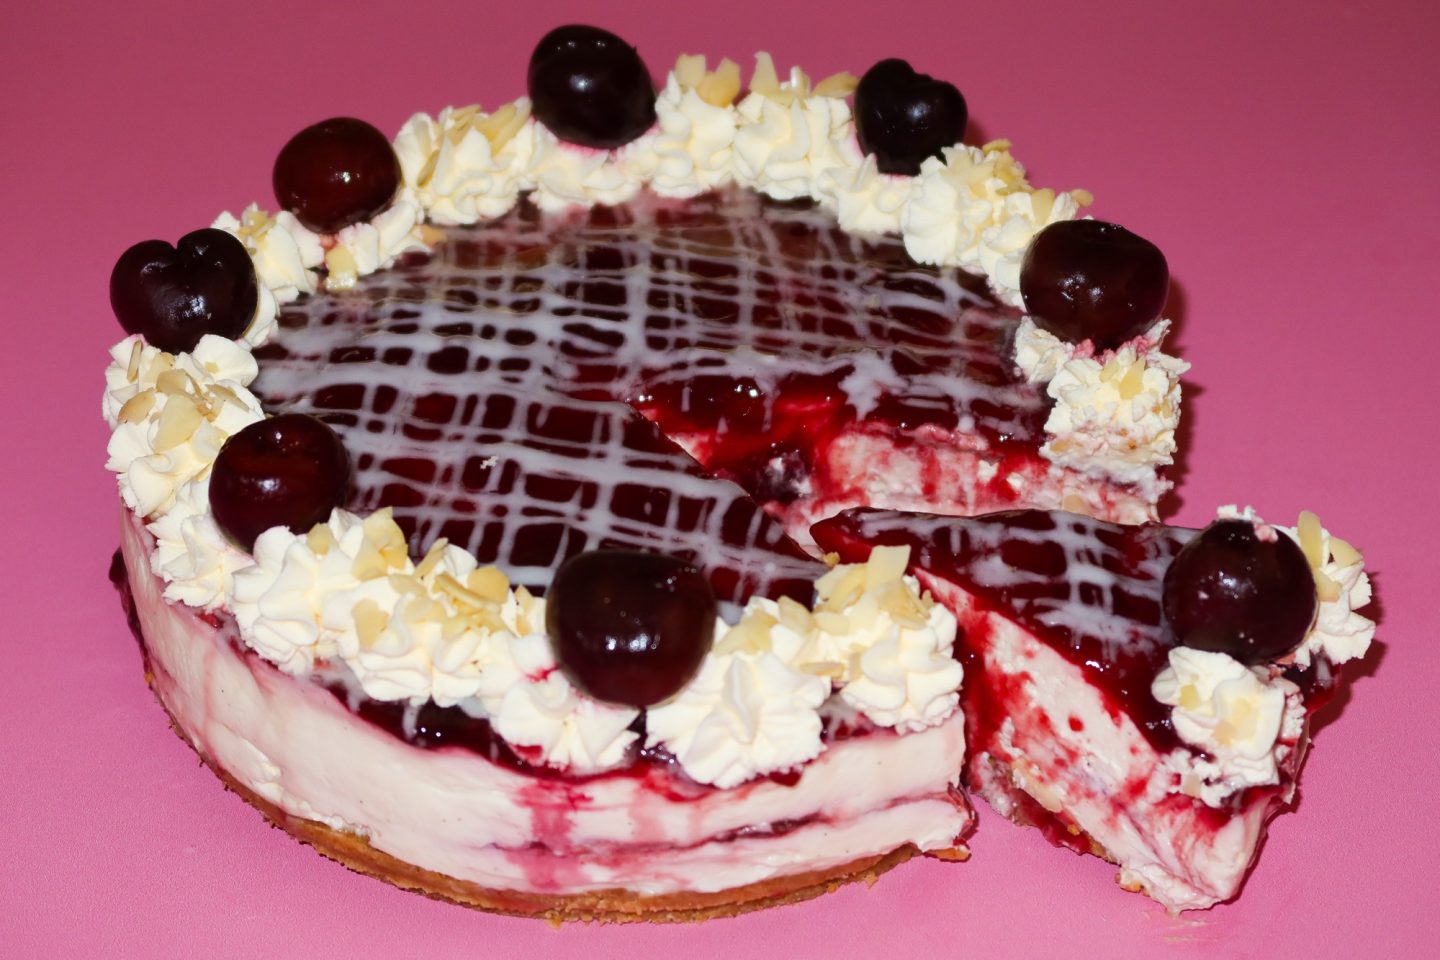
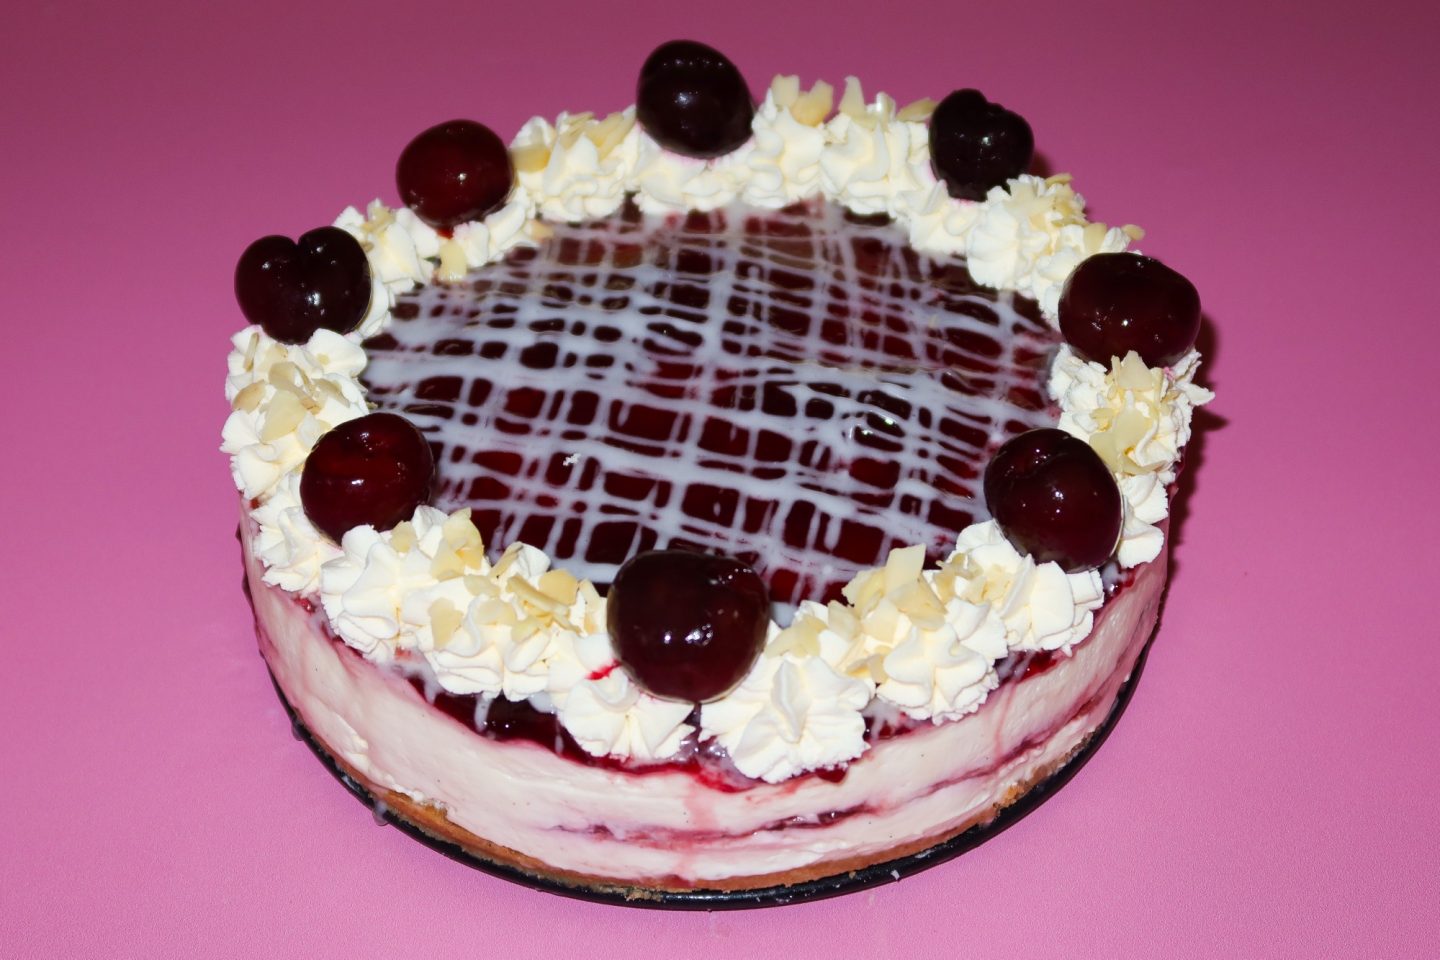
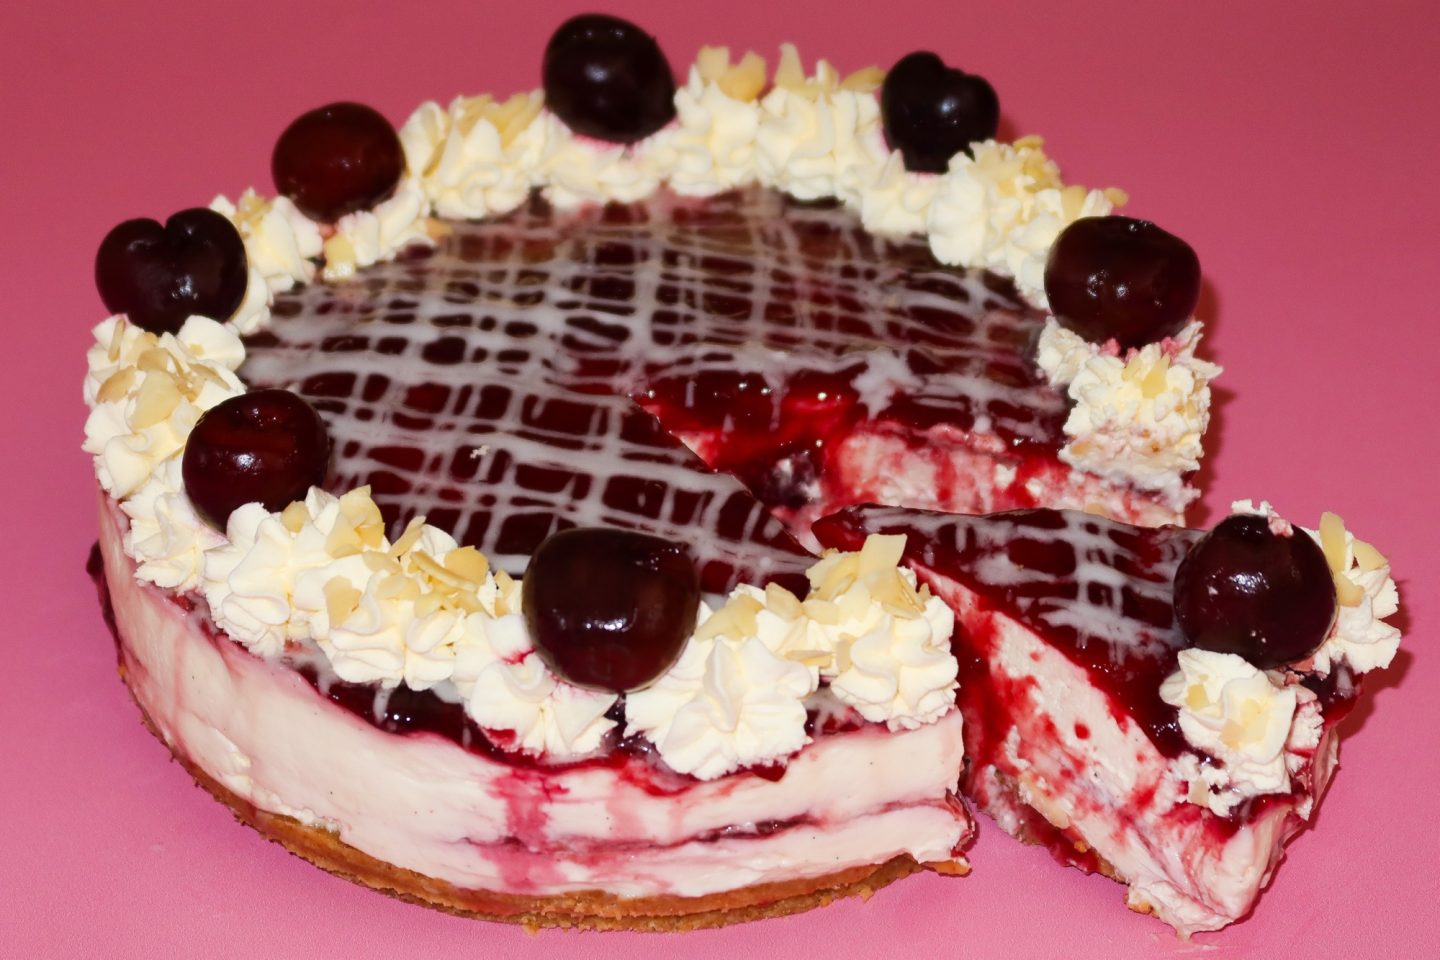
Is your mouth watering?
I feel like this would be the perfect cheesecake to share with loved ones this summer! Whether that’s at a family bbq, a friend gathering, a special occasion or you just fancy treating your loved ones – this cheesecake will go down an absolute treat. That I can assure you.
Let me know in the comments below if you make this cheesecake yourself and if you do, what your thoughts are on it. Do you love the cherry bakewell flavours in today’s cheesecake?
Sending you all tons of love & hugs as always,
Elle xo
