
Hello lovelies,
If you’ve been around here a while, you will know that I’m all about making a show-stopping desert to enjoy alongside loved ones at any special occasion and Easter is one of them.
With family/friend gatherings, easter egg hunts and all the in between celebrations, it’s only right that you make something utterly delicious to grab peoples attention and stop them in their tracks.
Now that doesn’t have to be an extravagant 3 tiered cake, it can be anything from a cheesecake, a traybake or like today’s recipe, a ‘brownie slab’.
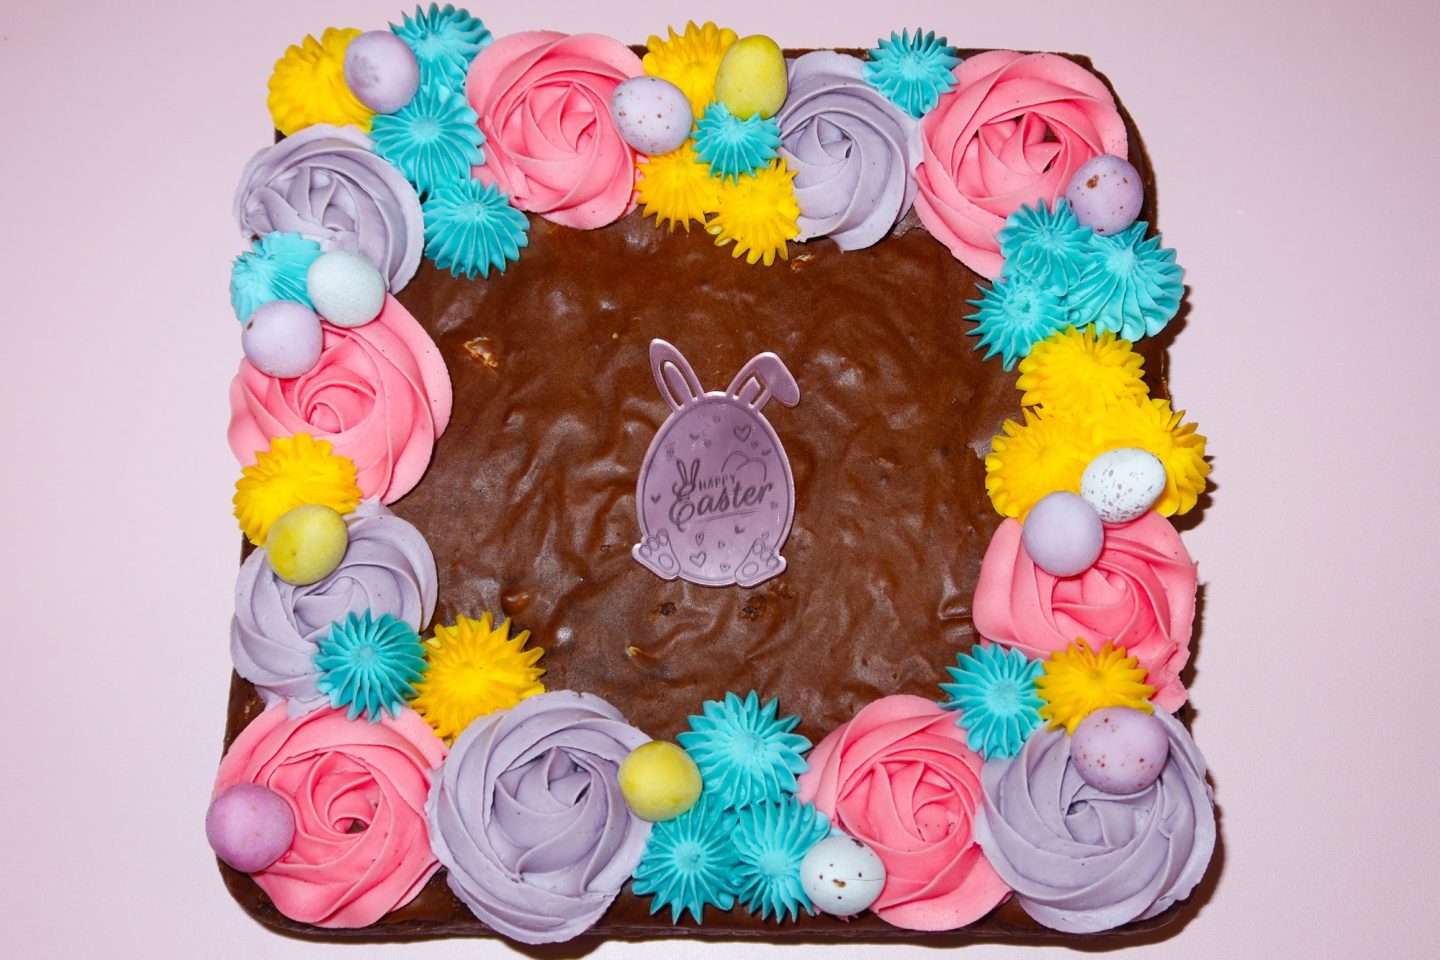
These ‘brownie slabs’ have been circling the web for a while now and I fell in love the moment I laid eyes upon them. A ‘brownie slab’ is essentially just a large brownie which has been highly decorated and honestly, I just loved that idea.
We’re seeing more and more people opt for an alternative to cakes now and any chocoholics will adore a brownie so when better to share one with them than at easter? and what better to fill it with than mini eggs?
This is such a quick & easy recipe to make, bake and decorate, it looks the part and everyone is guaranteed to be left wanting more.
So, if this brownie slab sounds like abit of you, you know the drill by now. Keep on scrolling below and you’ll find today’s recipe.
Category: Desert, Sweet Treat, Easter
Servings: 16+ Pieces
Prep Time: 10 Minutes
Bake Time: 25-30 Minutes
Decorating Time: 20 Minutes
Overall Time: 1+ Hour
Ingredients You Need For The Brownie:
- 200g Of 70% Cocoa Dark Chocolate
- 200g Of Unsalted Butter
- 275g Of White Caster Sugar
- 4 Large Eggs
- 100g Of Plain Flour
- 50g Of Cocoa Powder
- 150g Of White Chocolate, Chopped Small
- 150g Of Mini Eggs, Whole
Ingredients You Need To Decorate:
- 150g Of Unsalted Butter
- 250g Of Icing Sugar
- 2tsp Of Vanilla Bean Paste
- Purple, Pink, Yellow & Blue Food Colourings
- A Few Whole Mini Eggs
How To Make The Brownie:
- Firstly, gather together your equipment and ingredients, line a 8” brownie tin with parchment paper and preheat the oven to 180C / 160C Fan / Gas Mark 4.
- Secondly, in a microwavable bowl, add both the 200g of dark chocolate and 200g of unsalted butter. Place the bowl into the microwave and in 20 second blasts, blast the butter/chocolate until fully melted.
- When both the ingredients have melted, remove from the microwave and place to one side to cool to room temperature.
- Now, in a large bowl, using an electric whisk, whisk together the 4 large eggs with the 275g of caster sugar for around 8 minutes, until the colour has turned pale, the mixture is mousse like and the volume has doubled in size (TIP: you will know it’s done when you lift the whisk up out from the mixture and it should leave a trail for a couple of seconds, before disappearing).
- Once whisked, pour the melted and cooled chocolate/butter mixture over the eggs and very carefully fold together (TIP: being careful and patient is crucial at this stage because you don’t want to knock the air out of the mixture).
- When combined, sift in the 100g of plain flour and 50g of cocoa powder and carefully fold into the mixture.
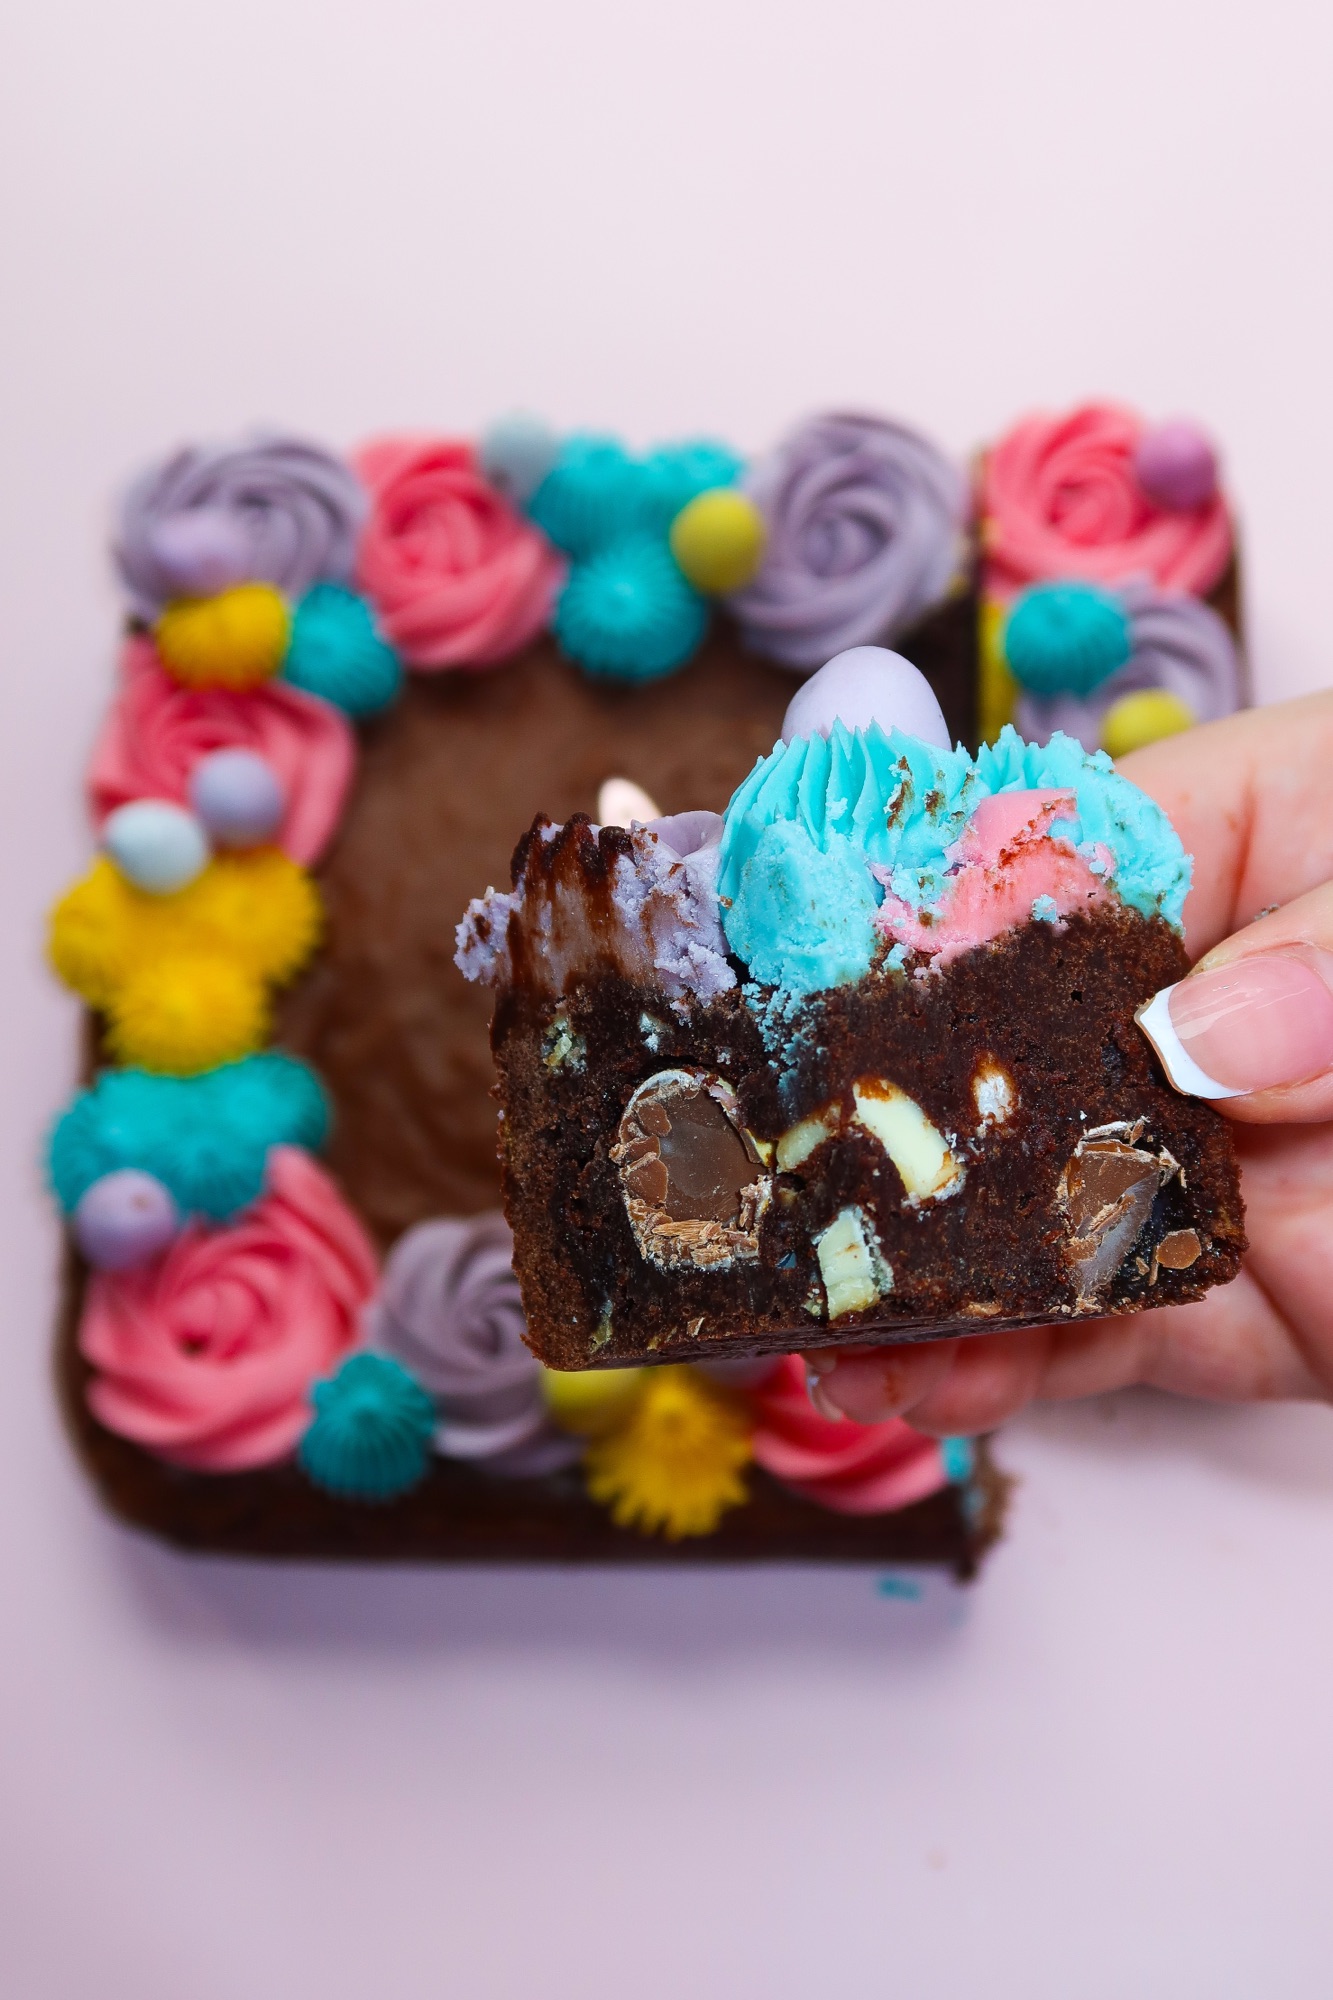
- Carefully fold in the 250g of chopped white chocolate and 150g of whole mini eggs until evenly distributed throughout the brownie batter.
- Pour the brownie batter into the pre-lined brownie tin and smooth out.
- Place into the oven and bake for 25-30 minutes, until the edges of the brownie are set but there’s a slight wobble in the centre of the brownie.
- Once baked, remove the brownies from the oven and allow to cool completely in the tin at room temperature before transferring into the fridge (whilst still in the baking tin) to chill for a minimum of 4 hours.
How To Decorate:
- Now that the brownie has been baked, cooled and chilled, carefully remove from the tin so it’s ready to be decorated.
- Next, in a large bowl, using an electric whisk or stand mixer, beat the 150g of unsalted butter for 2-3 minutes, until loosened and smooth.
- In small batches, beat in the 250g of icing sugar and 2tsp of vanilla extract until a silky smooth buttercream has formed.
- Divide the buttercream equally between four bowls, add 2-3 drops of pink food colouring into one bowl, purple into another, blue into another and yellow into the final bowl and mix together until you’ve reached the vibrancy of colour you want for each.
- Add piping tips of your choice into 4 piping bags and add the buttercreams into each of their own individual piping bag.
- Pipe the buttercream around the edges of the brownie slab to create a buttercream boarder, leaving the centre clear.
- When happy with your boarder, place whole mini eggs onto the buttercream for extra decoration.
- Into the centre, I added a ‘Happy Easter’ sign but you can add whatever you want to the centre or leave it plain, this step is completely optional.
- Finally, serve straight away or place into the fridge until ready to serve.
That’s your Mini Egg Easter Brownie Slab prepared, baked, cooled, chilled and decorated, ready for you to enjoy this Easter!
Notes:
- Store in the refrigerator for up to 5 days or in an airtight container at room temperature for up to 3 days.
- If storing in the refrigerator, I would recommend removing at least 30 minutes before serving to allow the brownie to come down to room temperature.
- I used Wilton 2D, 1M & D66 piping nozzles to create my buttercream boarder.
- I used the Colour Mill Food Colourings in Lilac, Yellow, Baby Pink & Sea Blue to create the colours for my buttercream. You can buy them here: https://www.cakecraftcompany.com/food-colourings
- I brought my ‘Happy Easter’ sign from Temu: https://share.temu.com/KtSkWkmUA4B
- If you’re worried the mini eggs being whole may be difficult to eat, you can crush the mini eggs up.
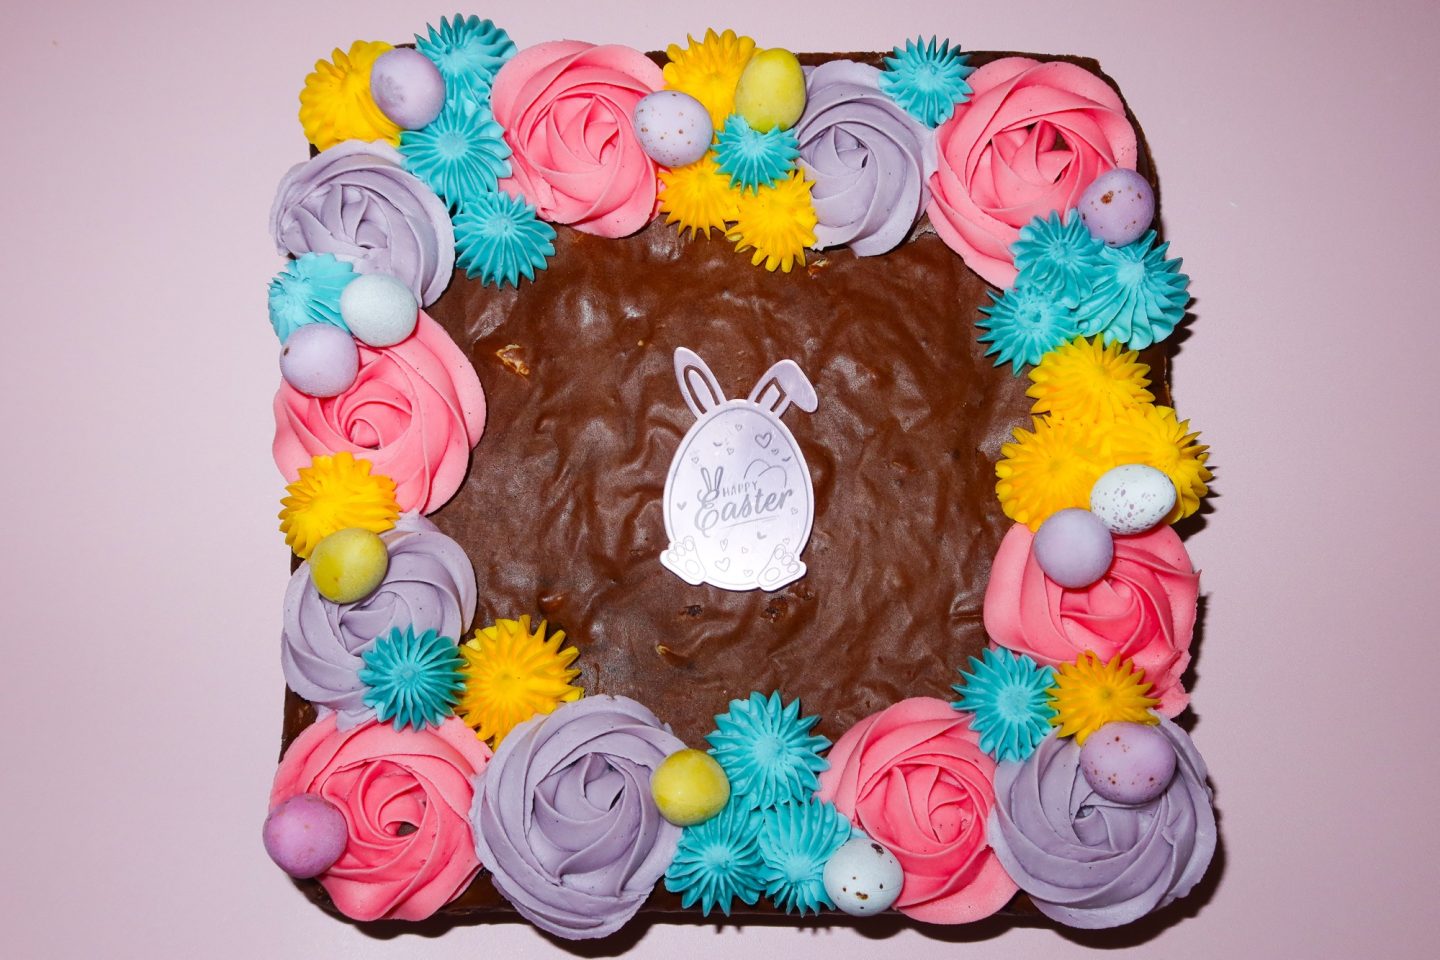

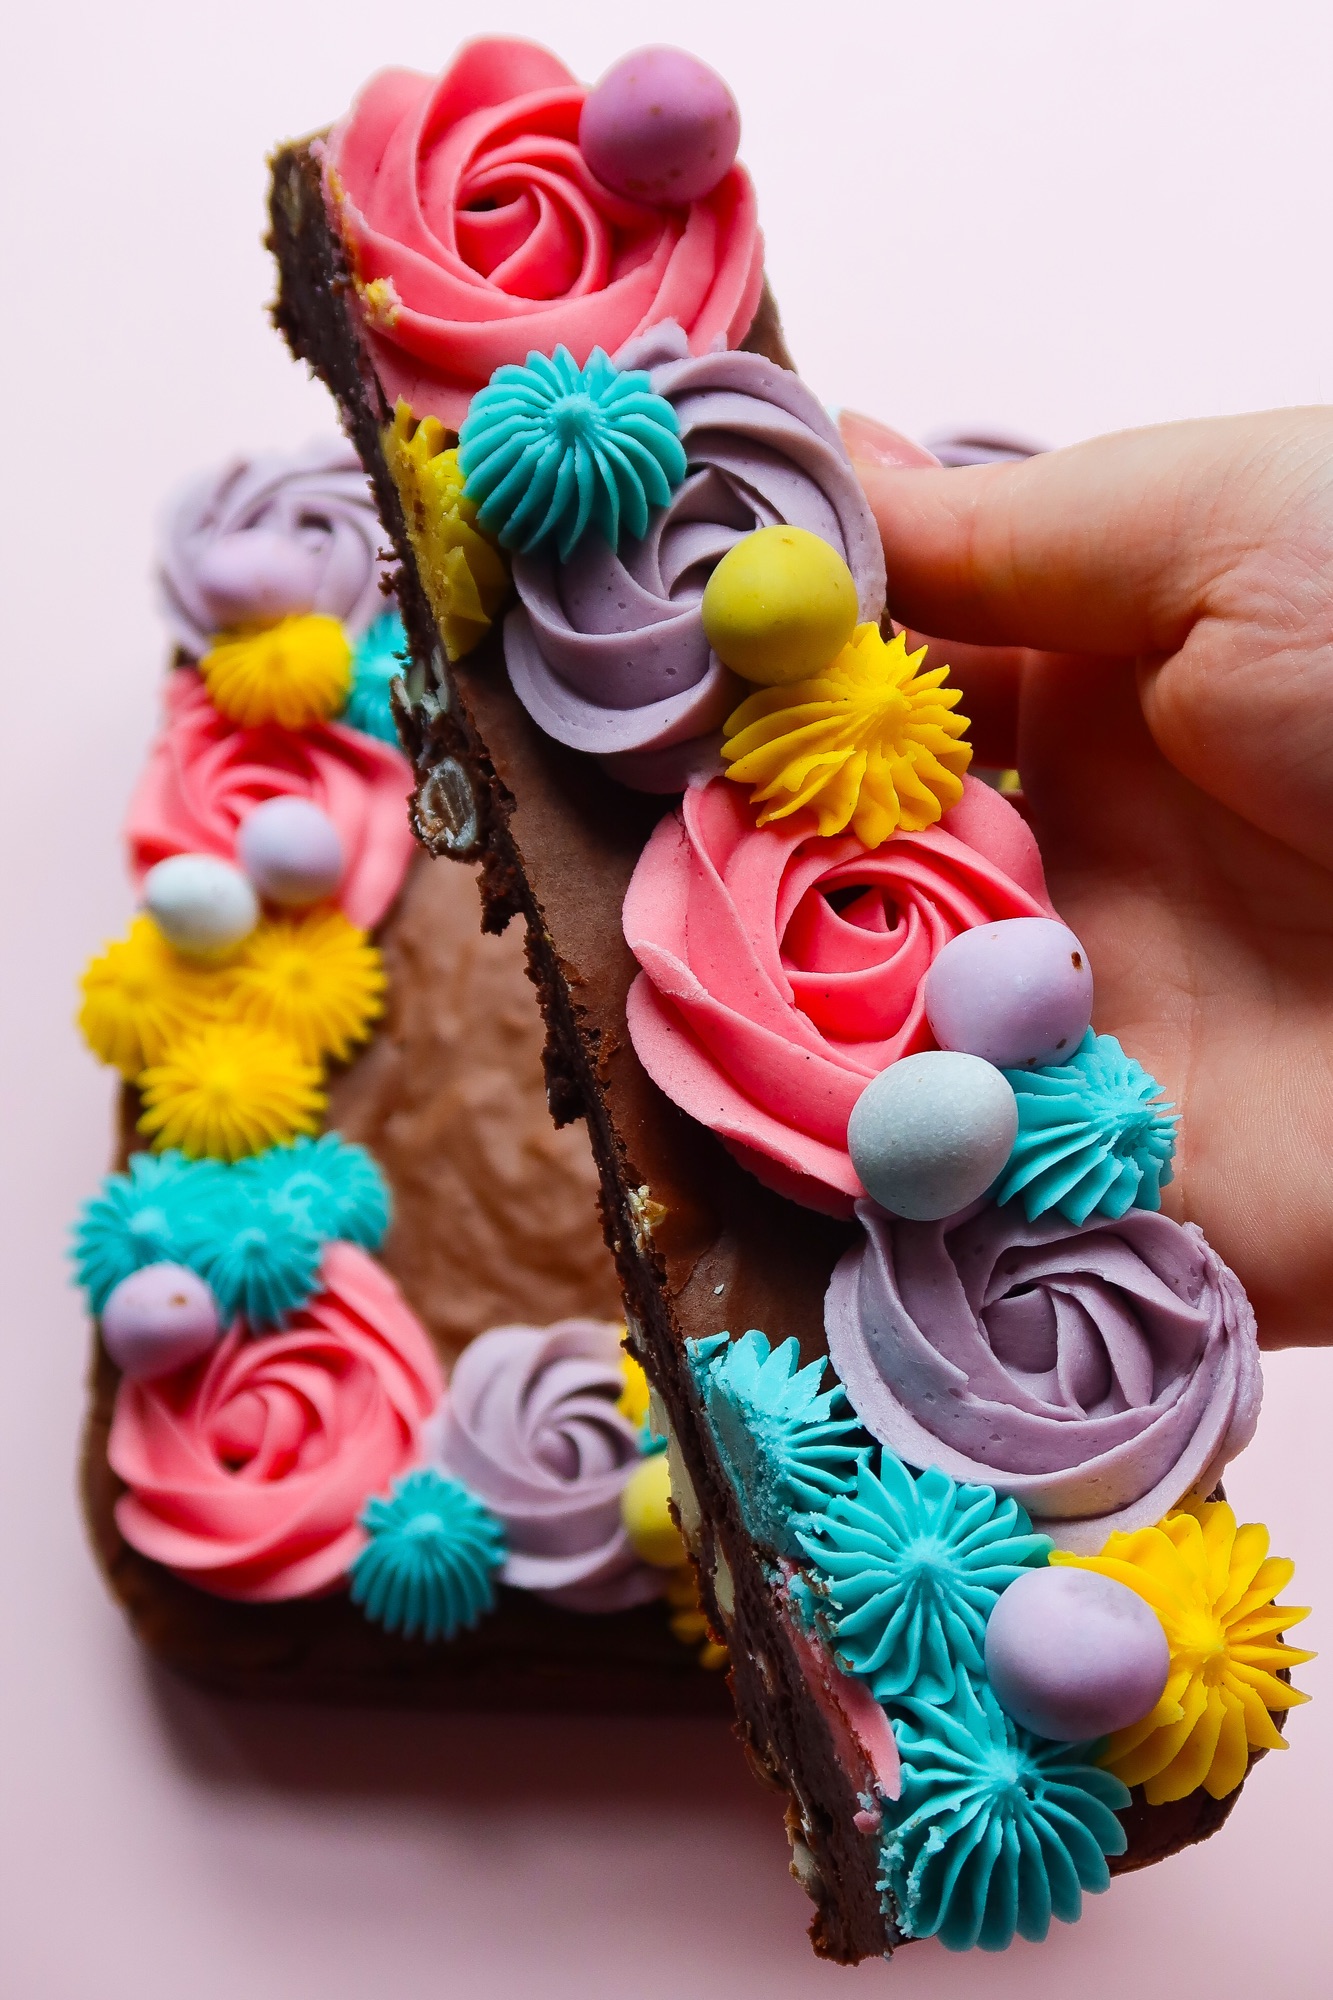
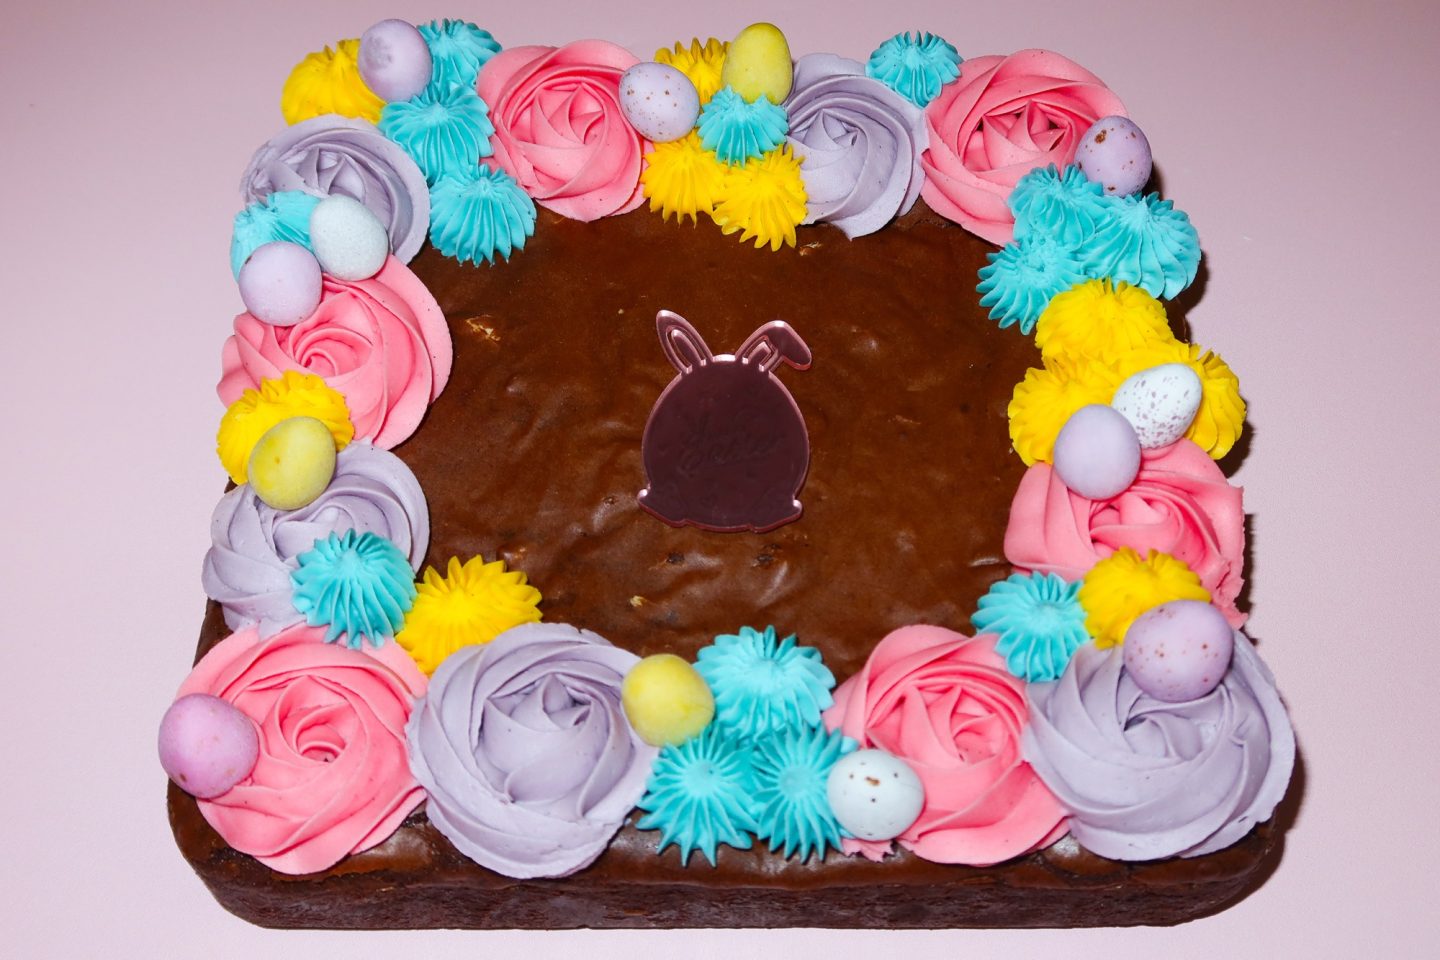
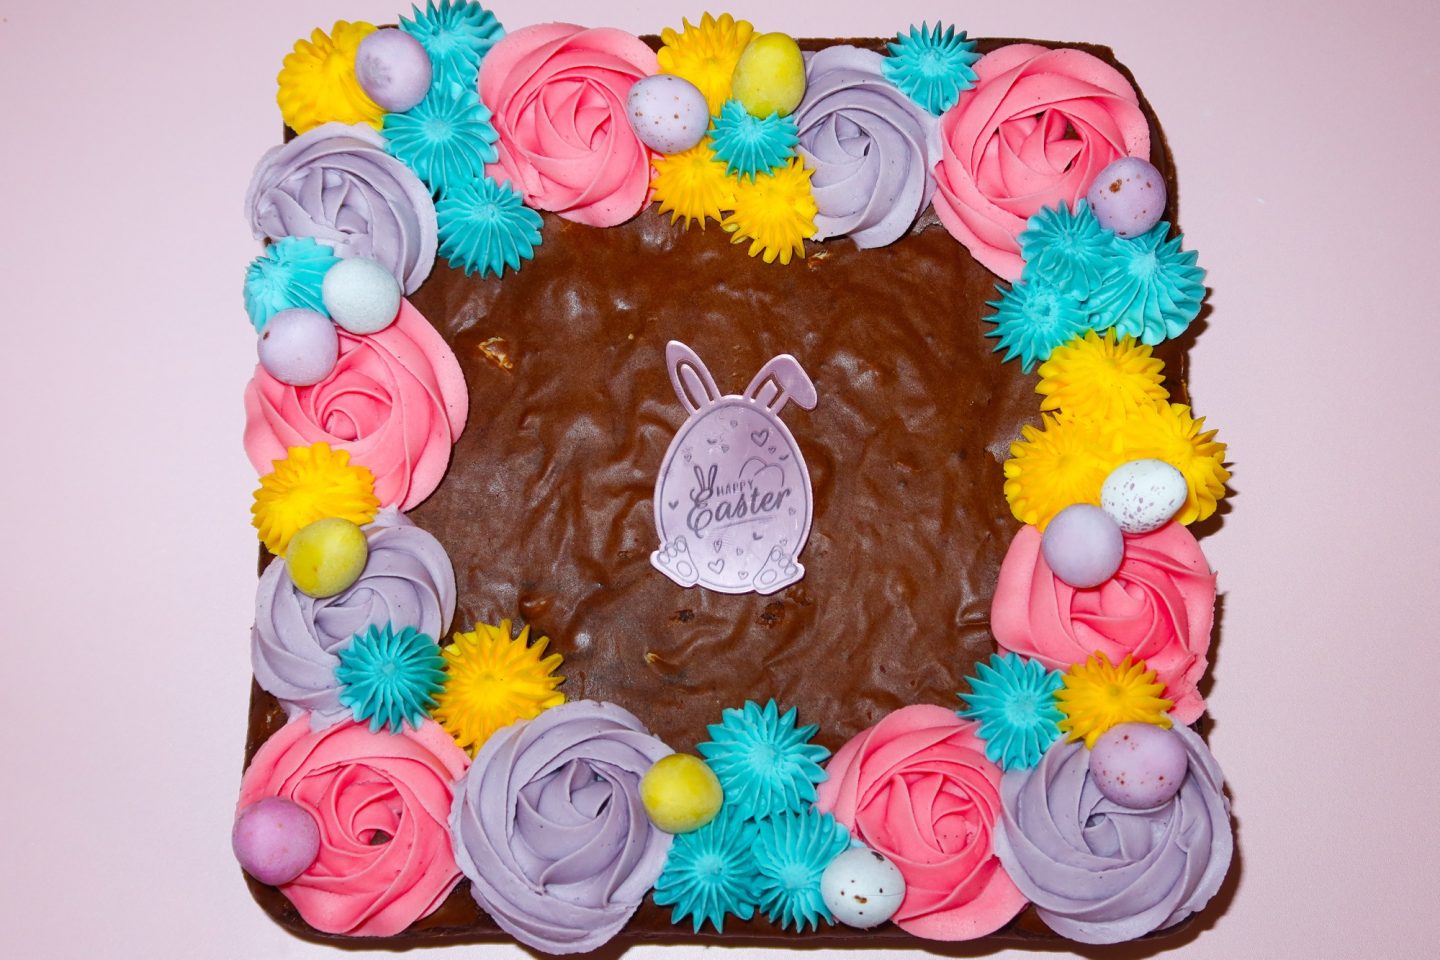


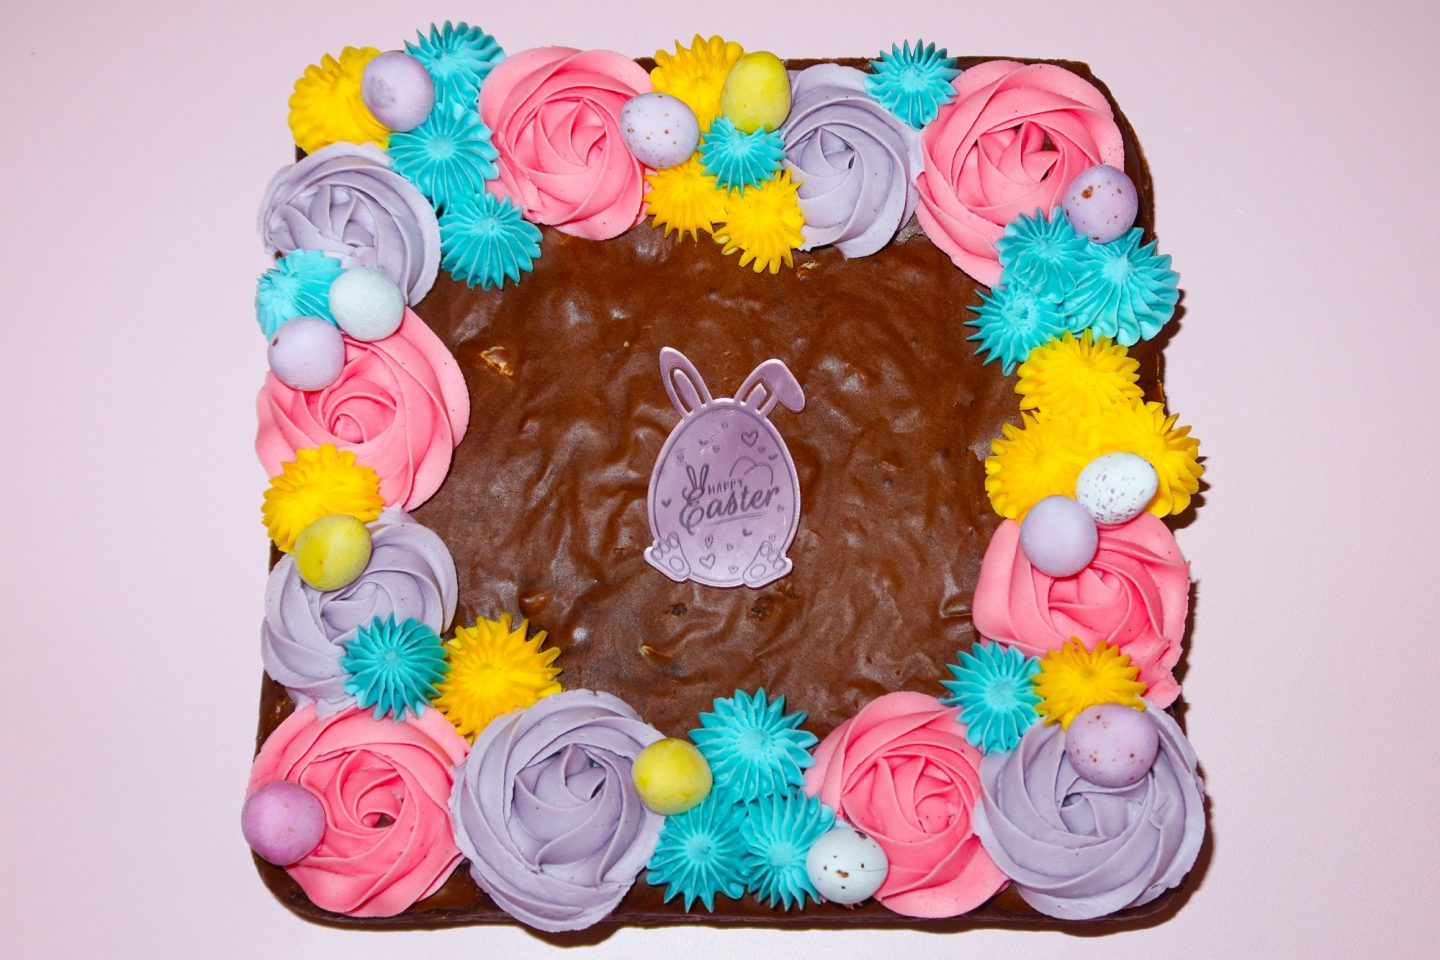

You can’t tell me that this ‘brownie slab’ isn’t a show-stopper! It certainly looks the part and tastes even better.
If you couldn’t tell, I absolutely love that we as a nation are stepping outside the box when it comes to deserts and creating the most incredible centre pieces. It excites me for what’s to come…
Let me know in the comments below if you make this brownie slab yourself and if you do, what your thoughts are on it. Do you love the idea of a brownie slab? How did/would you fill and decorate yours?
Sending you all tons of love & hugs as always,
Elle xo
